3D Stisk
Domů
Služby

    Flow Calibration Guide from Bambu Studio

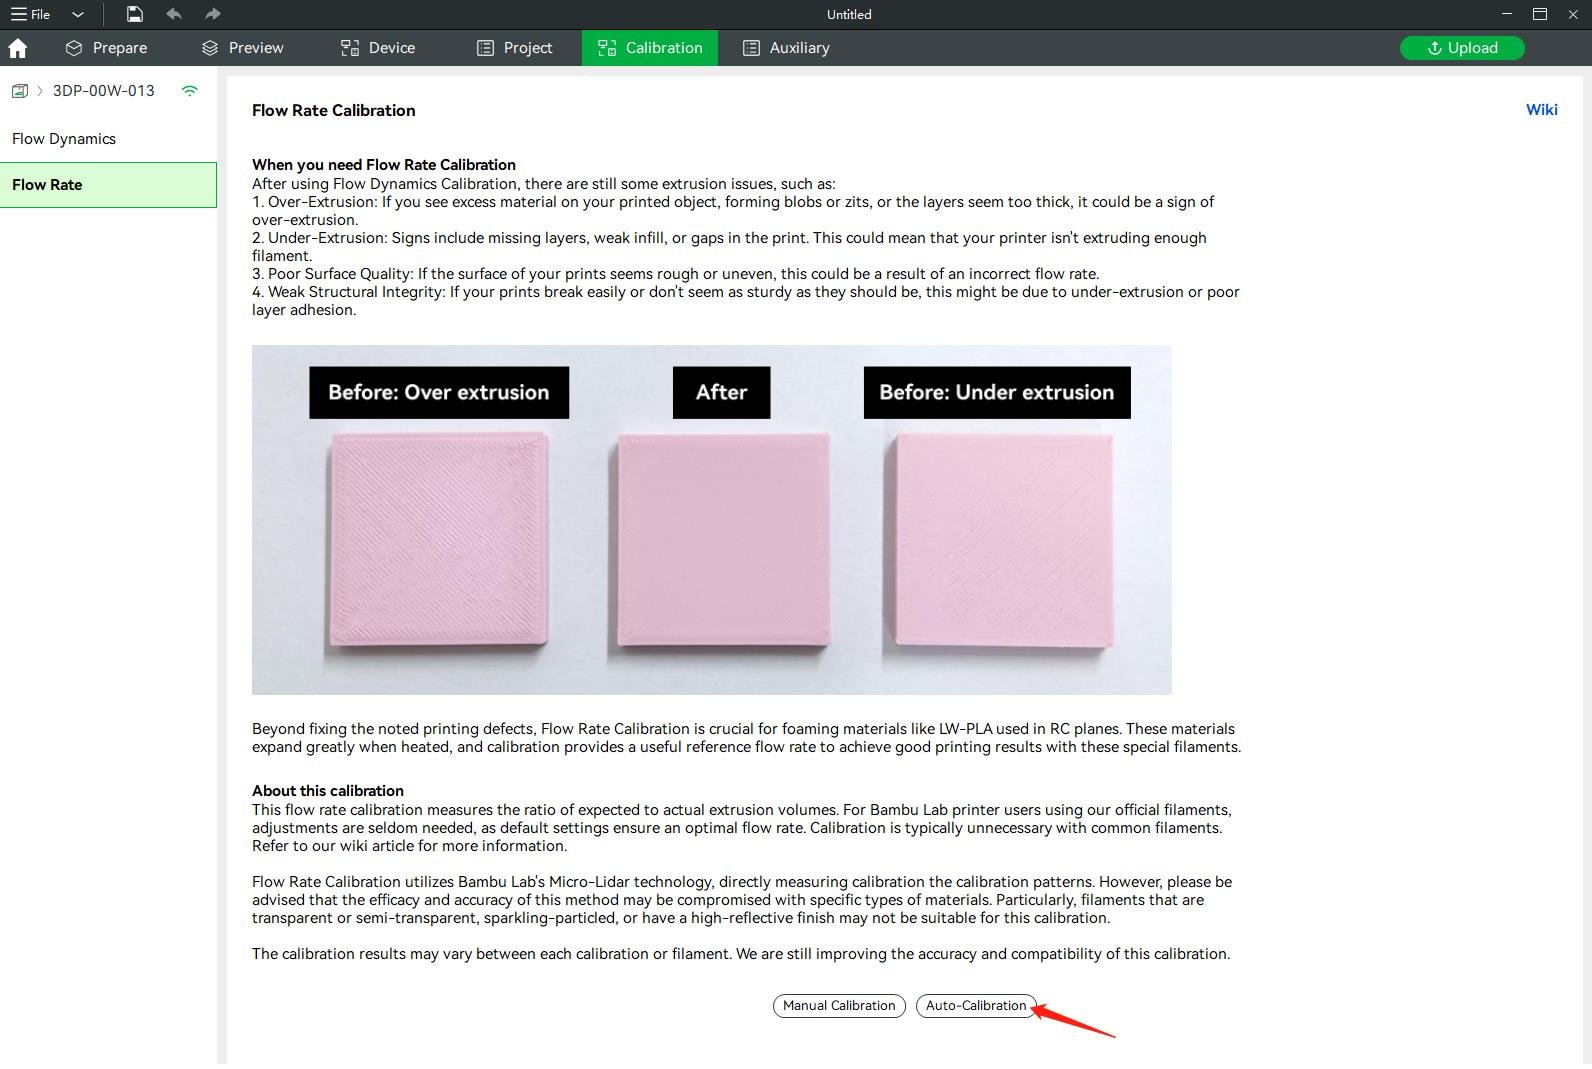
    Flow Rate


    About This Calibration


    Flow calibration measures the ratio between the expected and actual extrusion volume. This ratio is usually stable, and the default settings work well with Bambu Lab printers and official filaments that have been pre-calibrated and fine-tuned. Flow calibration is usually not necessary for regular filaments.

    It is important to understand that flow calibration is an advanced process that should only be performed by users who fully understand its purpose and consequences. Improper use may lead to poorer print results or damage to the printer. Carefully read and understand the procedure before performing the calibration.


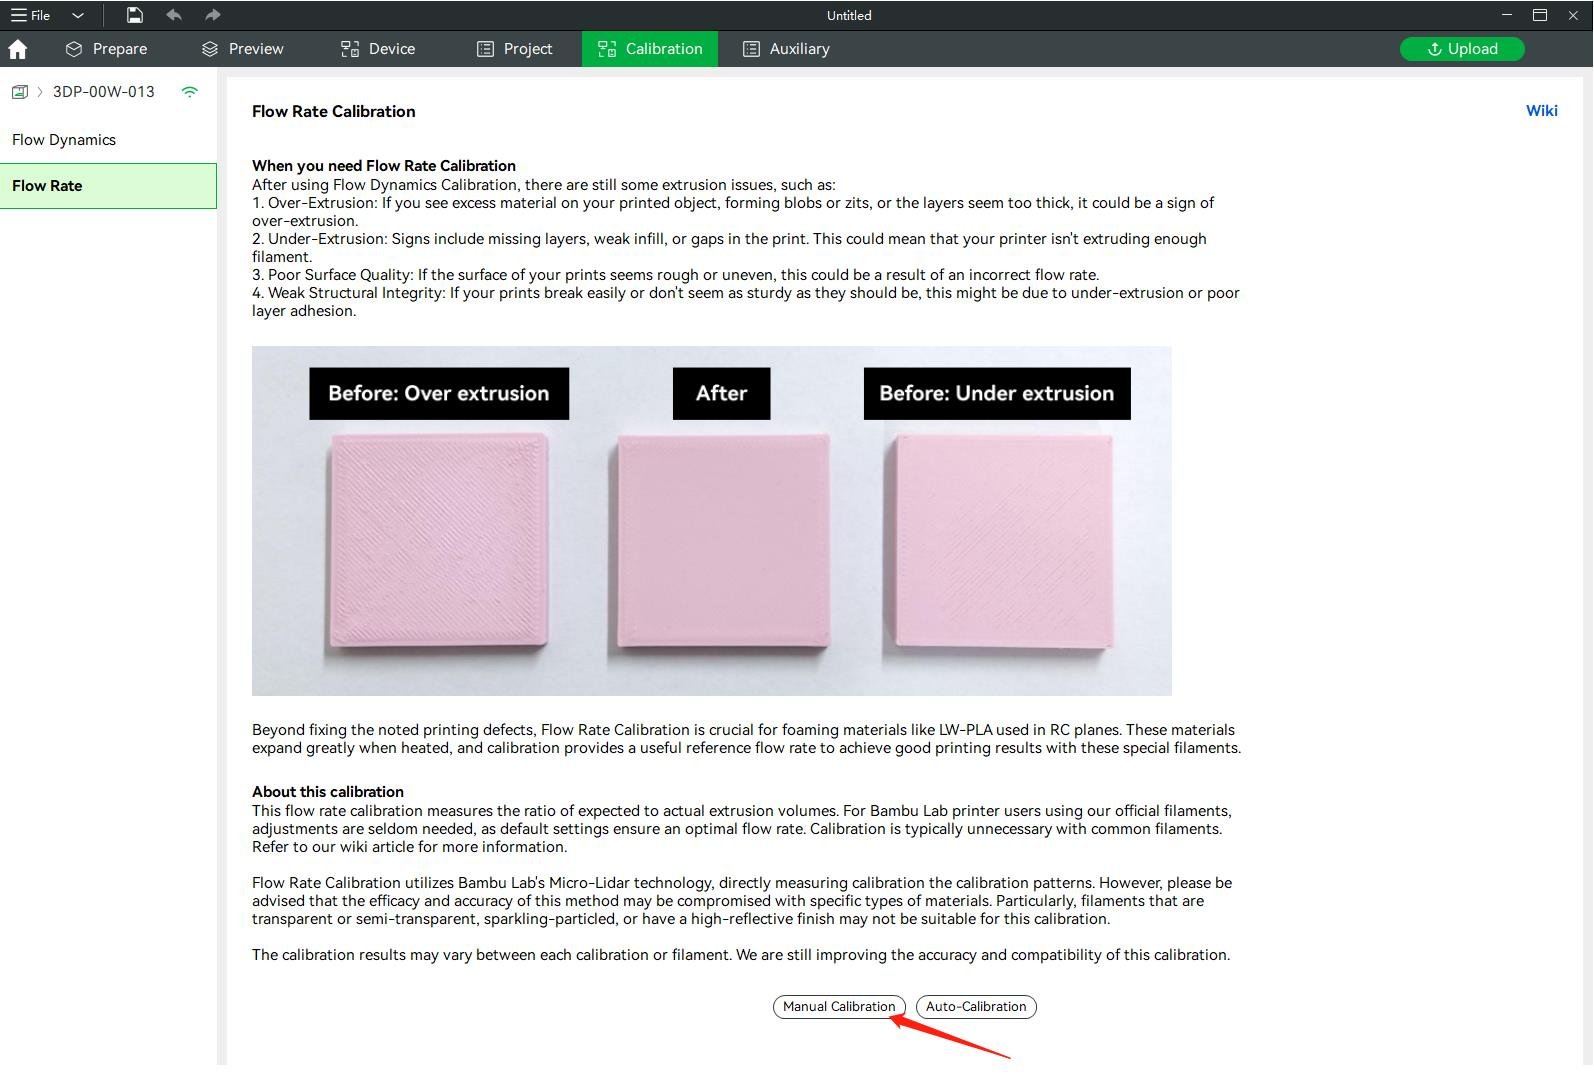
    When Flow Calibration Is Necessary


    Achieving perfect finishes on your prints involves several calibration steps that need to be completed correctly before considering flow calibration. Not all defects in 3D-printed objects are caused by inaccurate flow rates. In fact, when using high-quality printers such as Bambulab printers and official Bambu filaments, mechanical tolerances are minimal and filament quality is extremely high. Therefore, any defects observed in your prints could be caused by other aspects of calibration that need to be addressed.

    However, if you notice the following symptoms in your 3D prints and have already performed other calibrations, such as flow dynamics calibration, but the problems persist, it may be time to consider flow calibration:

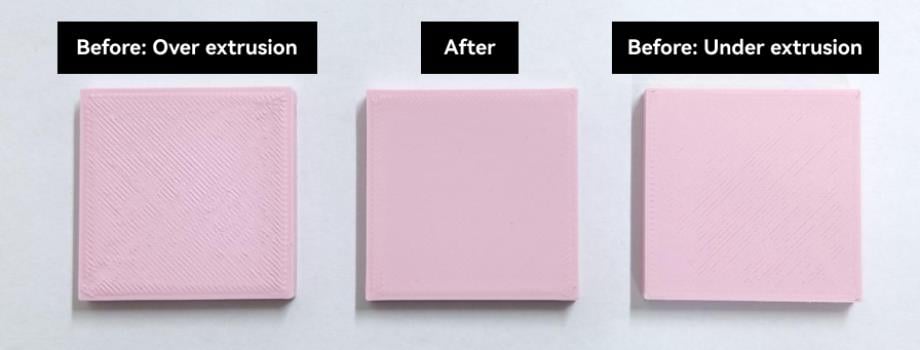
    1. Over-extrusion: If you see excess material on your printed object, forming blobs or bulges, or if the layers appear too thick, this may be a sign of over-extrusion.
    2. Under-extrusion: This is the opposite of over-extrusion. Symptoms include missing layers, weak infill, or gaps in the print. This may indicate that your printer is not extruding enough filament.
    3. Poor surface quality: If the surface of your prints appears rough or uneven, it may be the result of an incorrect flow rate.
    4. Weak structural integrity: If your prints break easily or are not as strong as they should be, this may be caused by under-extrusion or poor layer adhesion, which can be improved through flow calibration.

    In addition to correcting observed print defects, flow calibration is essential for foaming materials such as LW-PLA, used in RC aircraft. These materials expand significantly when heated, and calibration provides a useful flow reference for achieving good print results with these special filaments.


    Is the Calibration Reliable?


    Automatic flow calibration uses Bambu Lab's micro-lidar technology, which directly measures the calibration patterns. However, it is important to note that the effectiveness and accuracy of this method may be affected by specific material types. In particular, filaments that are transparent or translucent, contain glitter, or have a highly reflective surface may not be suitable for this calibration and may lead to less satisfactory results.

    Calibration results may vary between individual calibrations or filaments. We are still working to improve the accuracy and compatibility of this calibration through firmware updates over time.

    Manual calibration can provide relatively accurate results, but you need to know the correct calibration method.


    Two Calibration Modes


    Flow calibration has two modes: manual and automatic.

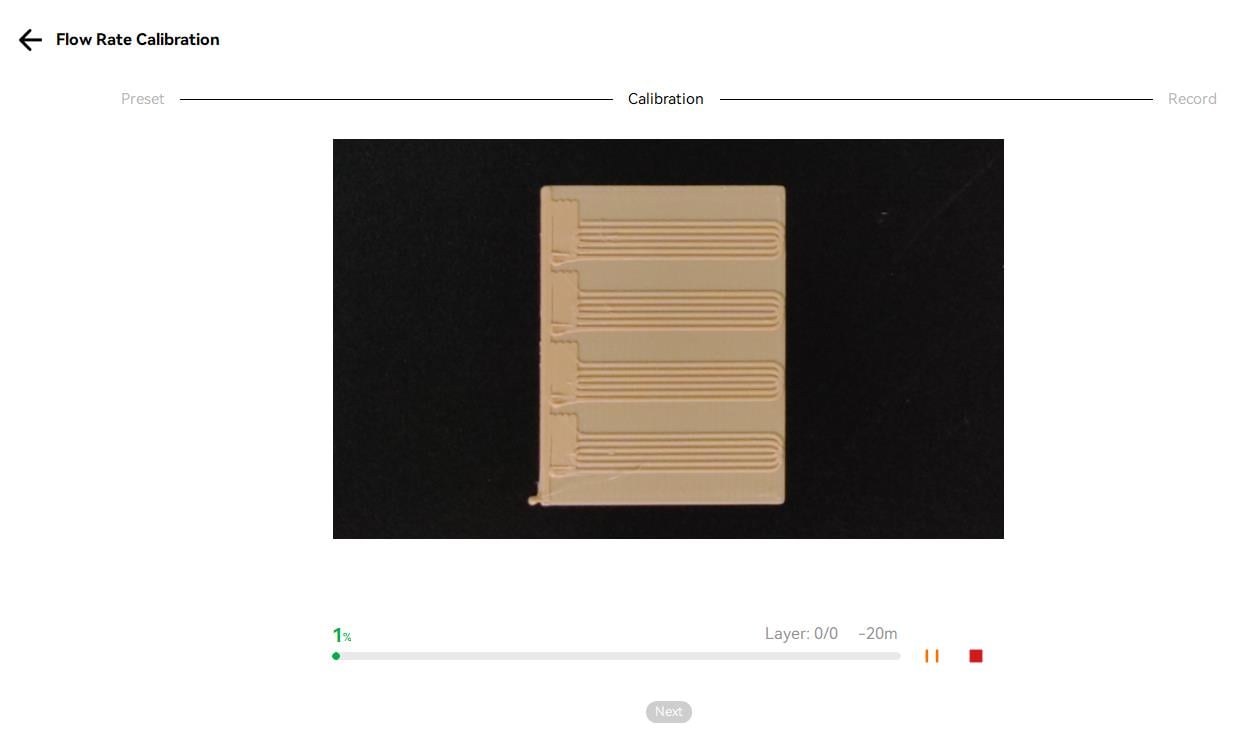
    Automatic mode: The user only needs to start the calibration, and the printer will return the calibration results after the print is completed.

    Manual mode: The user must determine which parameter to use by observing the quality of the calibration block on the build plate.


    Two Types of Manual Calibration


    Manual mode includes two types: Coarse Calibration and Fine Calibration.

    Coarse Calibration: is based on the preset filament's flow ratio value and prints calibration blocks with flow values ranging from 80% to 120% of this value. The coarse calibration step size is 5%. If you are unsure of the filament's flow ratio, you can first use coarse calibration to obtain a better range and then use fine calibration to obtain a more precise value.

    Fine Calibration: is based on a custom flow ratio value and prints calibration blocks with flow values ranging from 91% to 100% based on this value. The fine calibration step size is 1%. If you already know a reasonable range and the margin of error is within 10%, you can directly use fine adjustment to obtain a more precise value.

    How to Start Calibration?


    Automatic Mode


    (1) How to Start

    The printer must be connected before calibration.


    (2) Select the Material to Be Calibrated

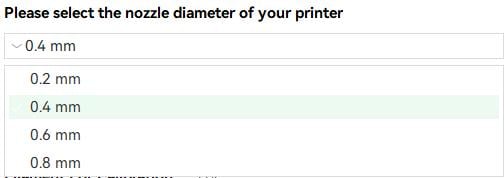
    Select your printer's nozzle diameter.

    (Note: Calibration for different nozzle sizes requires support from the printer's firmware. For OTA version 01.06.00.00, only a 0.4 mm nozzle is supported).
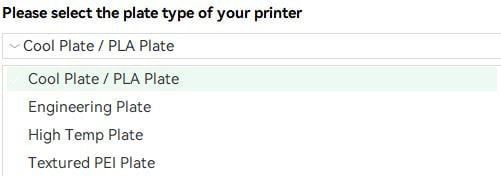
    Select your printer's build plate type.

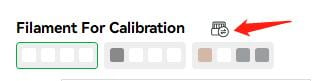
    Synchronize the filament list information from AMS.

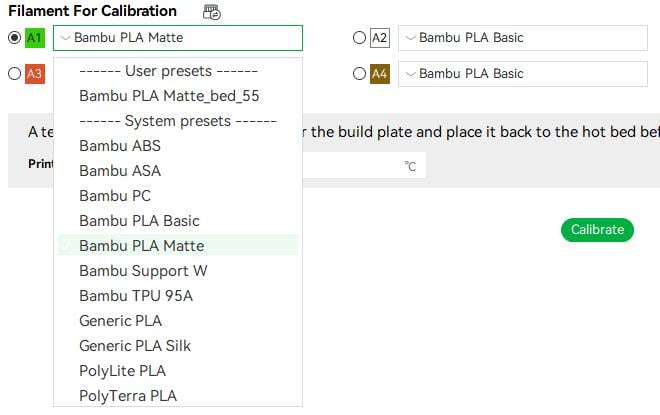
    Select the filament you want to calibrate. You can select a preset filament for printing using the filament radio button.

    After setting the required information, you can start the calibration by clicking the “Calibration” button.

    (3) Calibration printing is in progress.

    After the print is completed, you can click the “Next” button to proceed to the next step.


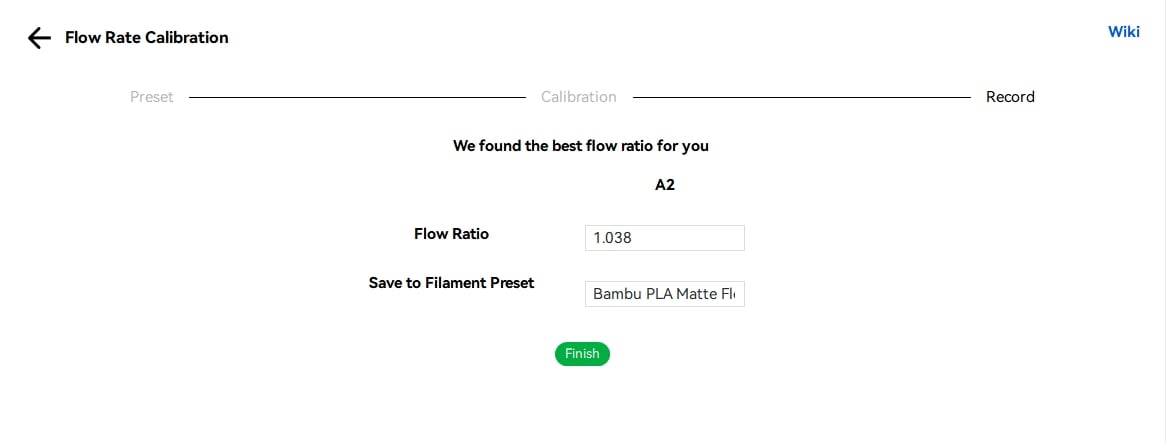
    (4) Save Calibration Results

    After the print is completed, the machine will return the flow ratio value it considers optimal. You can save this flow value to a new preset filament. If you change the name to the same name as the original preset filament used for calibration, you can also overwrite the original preset filament.

    Manual Mode


    (1) How to Start

    (2) Select the Material to Be Calibrated

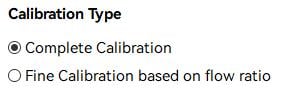
    Select the calibration type:

    Full Calibration: First, you perform coarse calibration, and then you can perform fine calibration based on the coarse calibration results.
    Fine Calibration Based on Flow Ratio: Directly performs fine calibration based on the flow ratio you set.

    The remaining steps are the same as in automatic mode.

    After setting the required information, you can start the calibration by clicking the “Calibration” button.

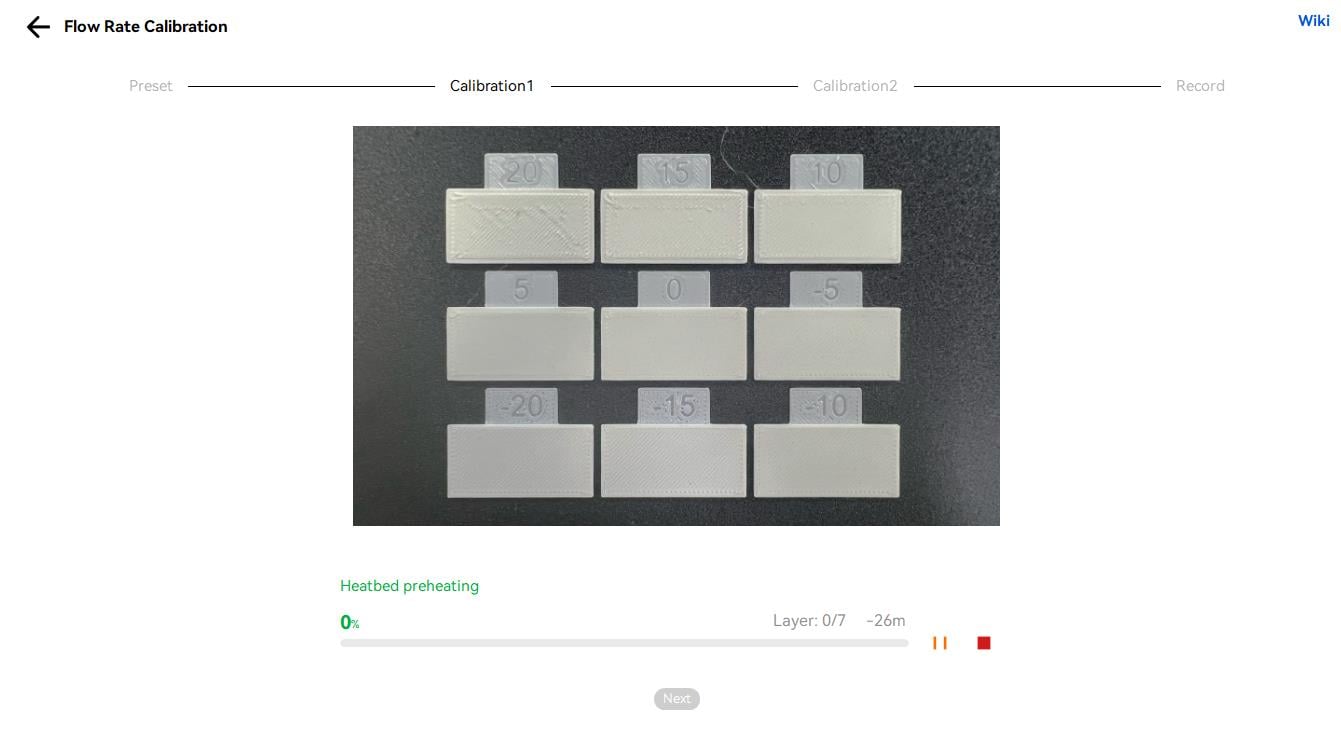
    (3) Coarse calibration printing is in progress.

    After coarse calibration is completed, you can click the “Next” button to proceed to the next step.


    (4) Save Calibration Results After Coarse Calibration.

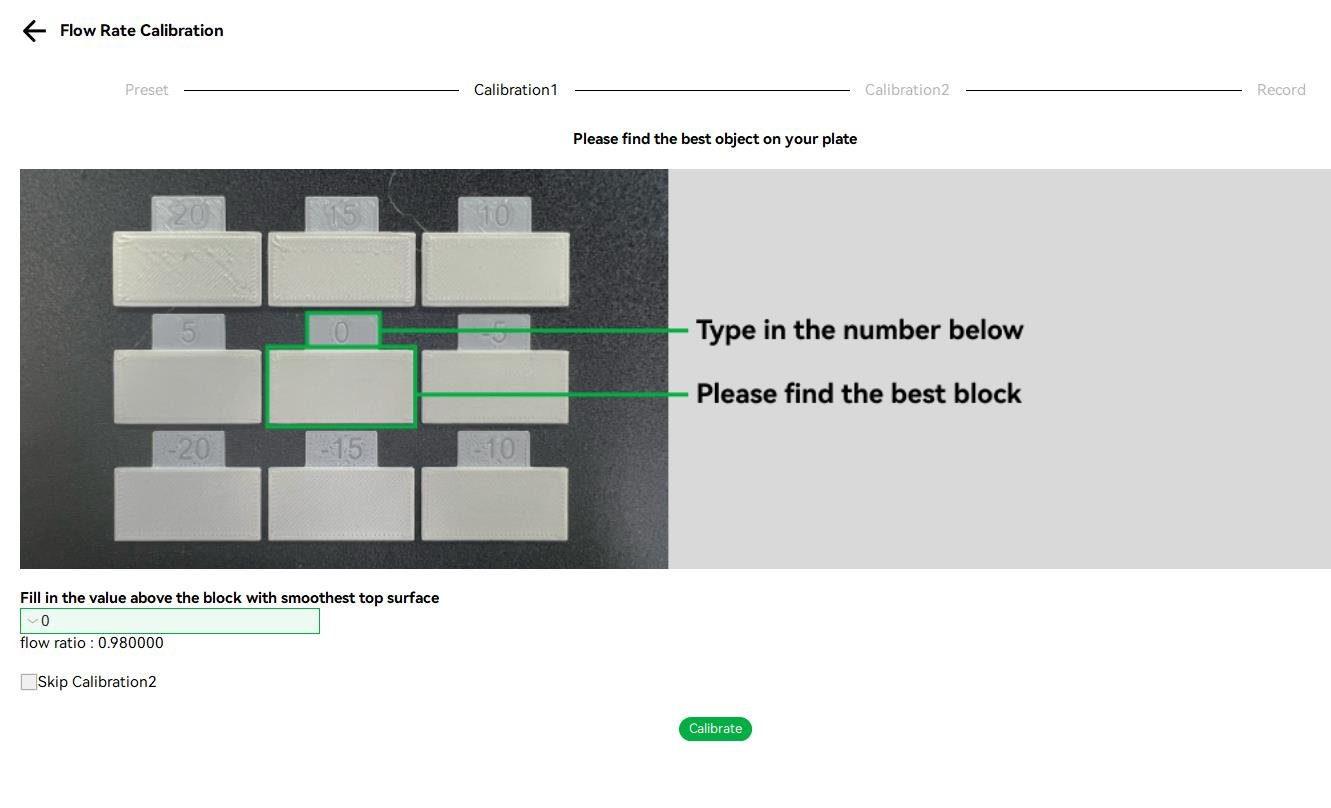
    By observing the calibration blocks, select the number corresponding to the calibration block with the smoothest top surface. After selecting it, the corresponding flow ratio value will be displayed below it. You can continue with fine calibration based on the currently selected flow ratio value for the next step, or you can skip the next step and save the value directly to the preset.


    (5) Fine calibration printing is in progress.

    (6) Save Calibration Results After Fine Calibration

    By observing the calibration blocks, select the number corresponding to the calibration block with the smoothest top surface. After selecting it, the corresponding flow ratio value will be displayed below it. You can save this value to the preset.

    Oblíbené produkty