Doprava zdarma od 1 999 Kč
Rýchla expedícia
Overený obchod
Tisíce zákazníkov




Doprava zdarma od 1 999 Kč
This page describes remote control of printers using WAN or LAN mode.
Bambu Studio supports full remote control and monitoring of the printer over the network (WAN/LAN). Here are some of the features:
Features:
Preparation:
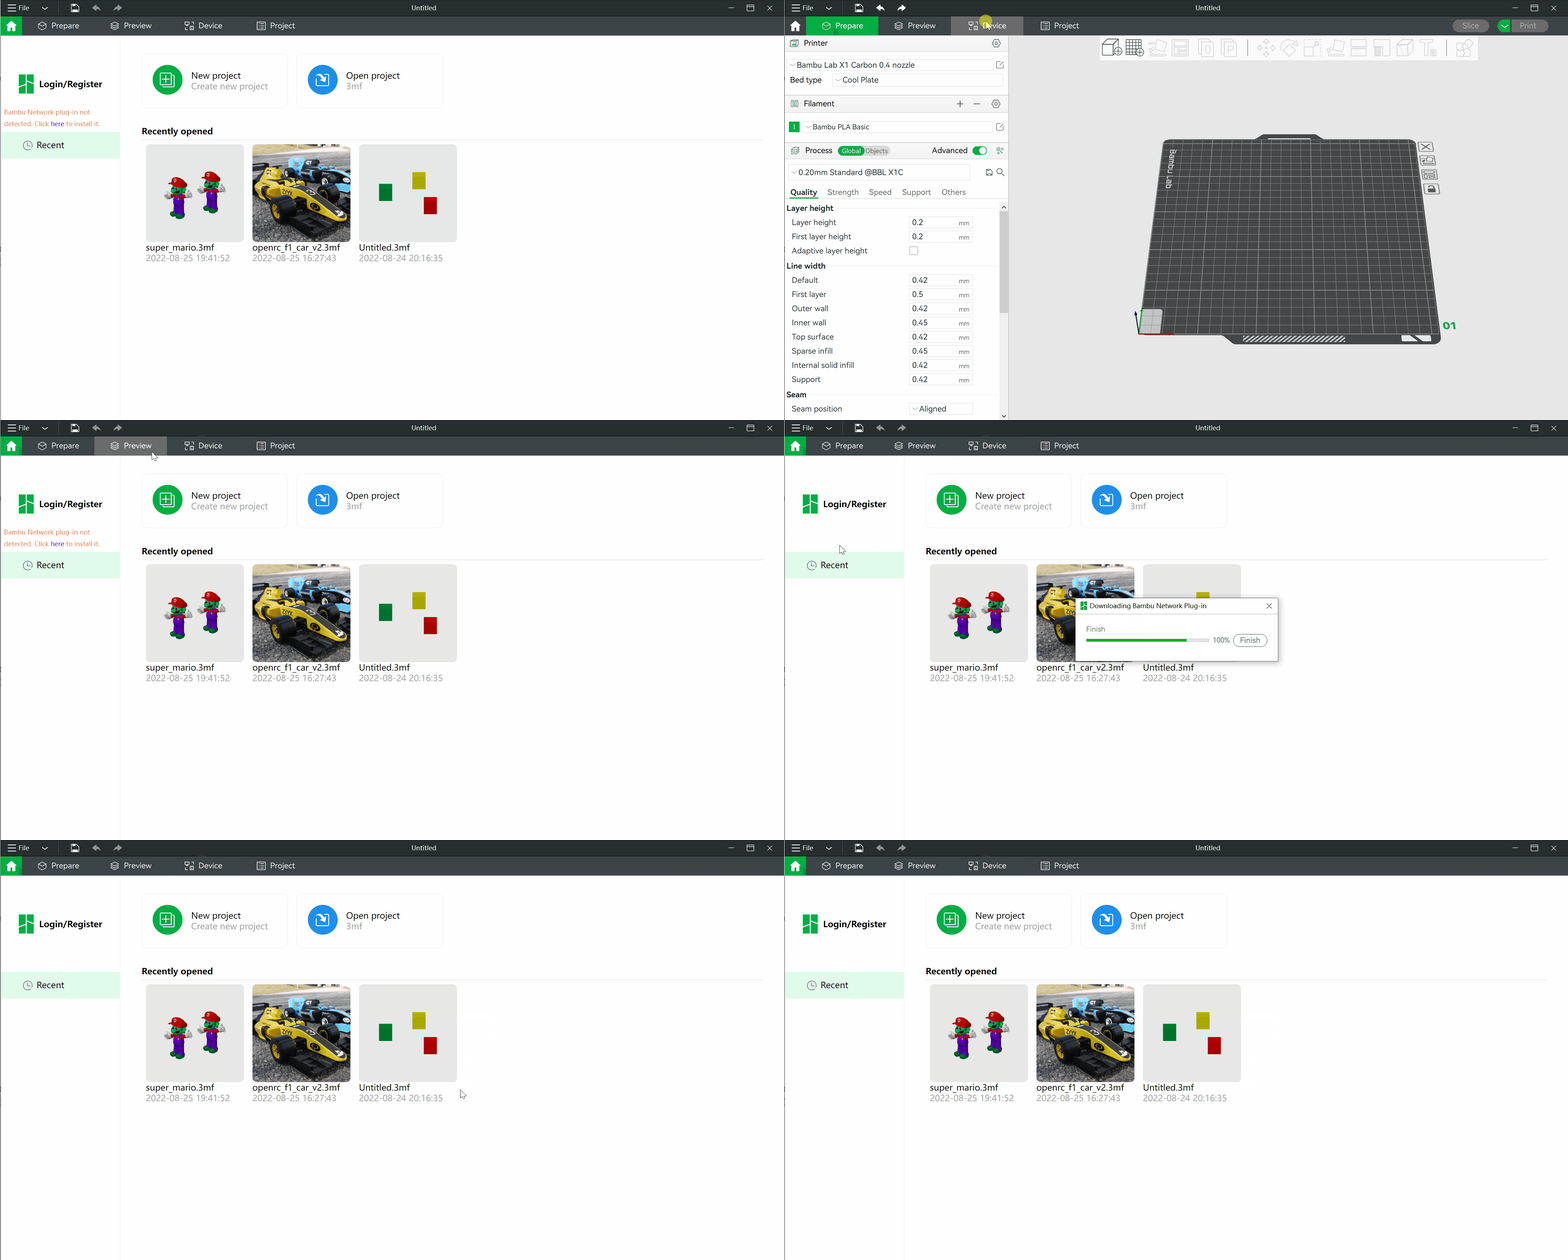
Install the Network Plugin
The Bambu network plugin is required for remote control and monitoring functions in Bambu Studio. If it is not installed, you cannot send a print job over the network, and the “Device” page will not be available.
Registration/Sign-in
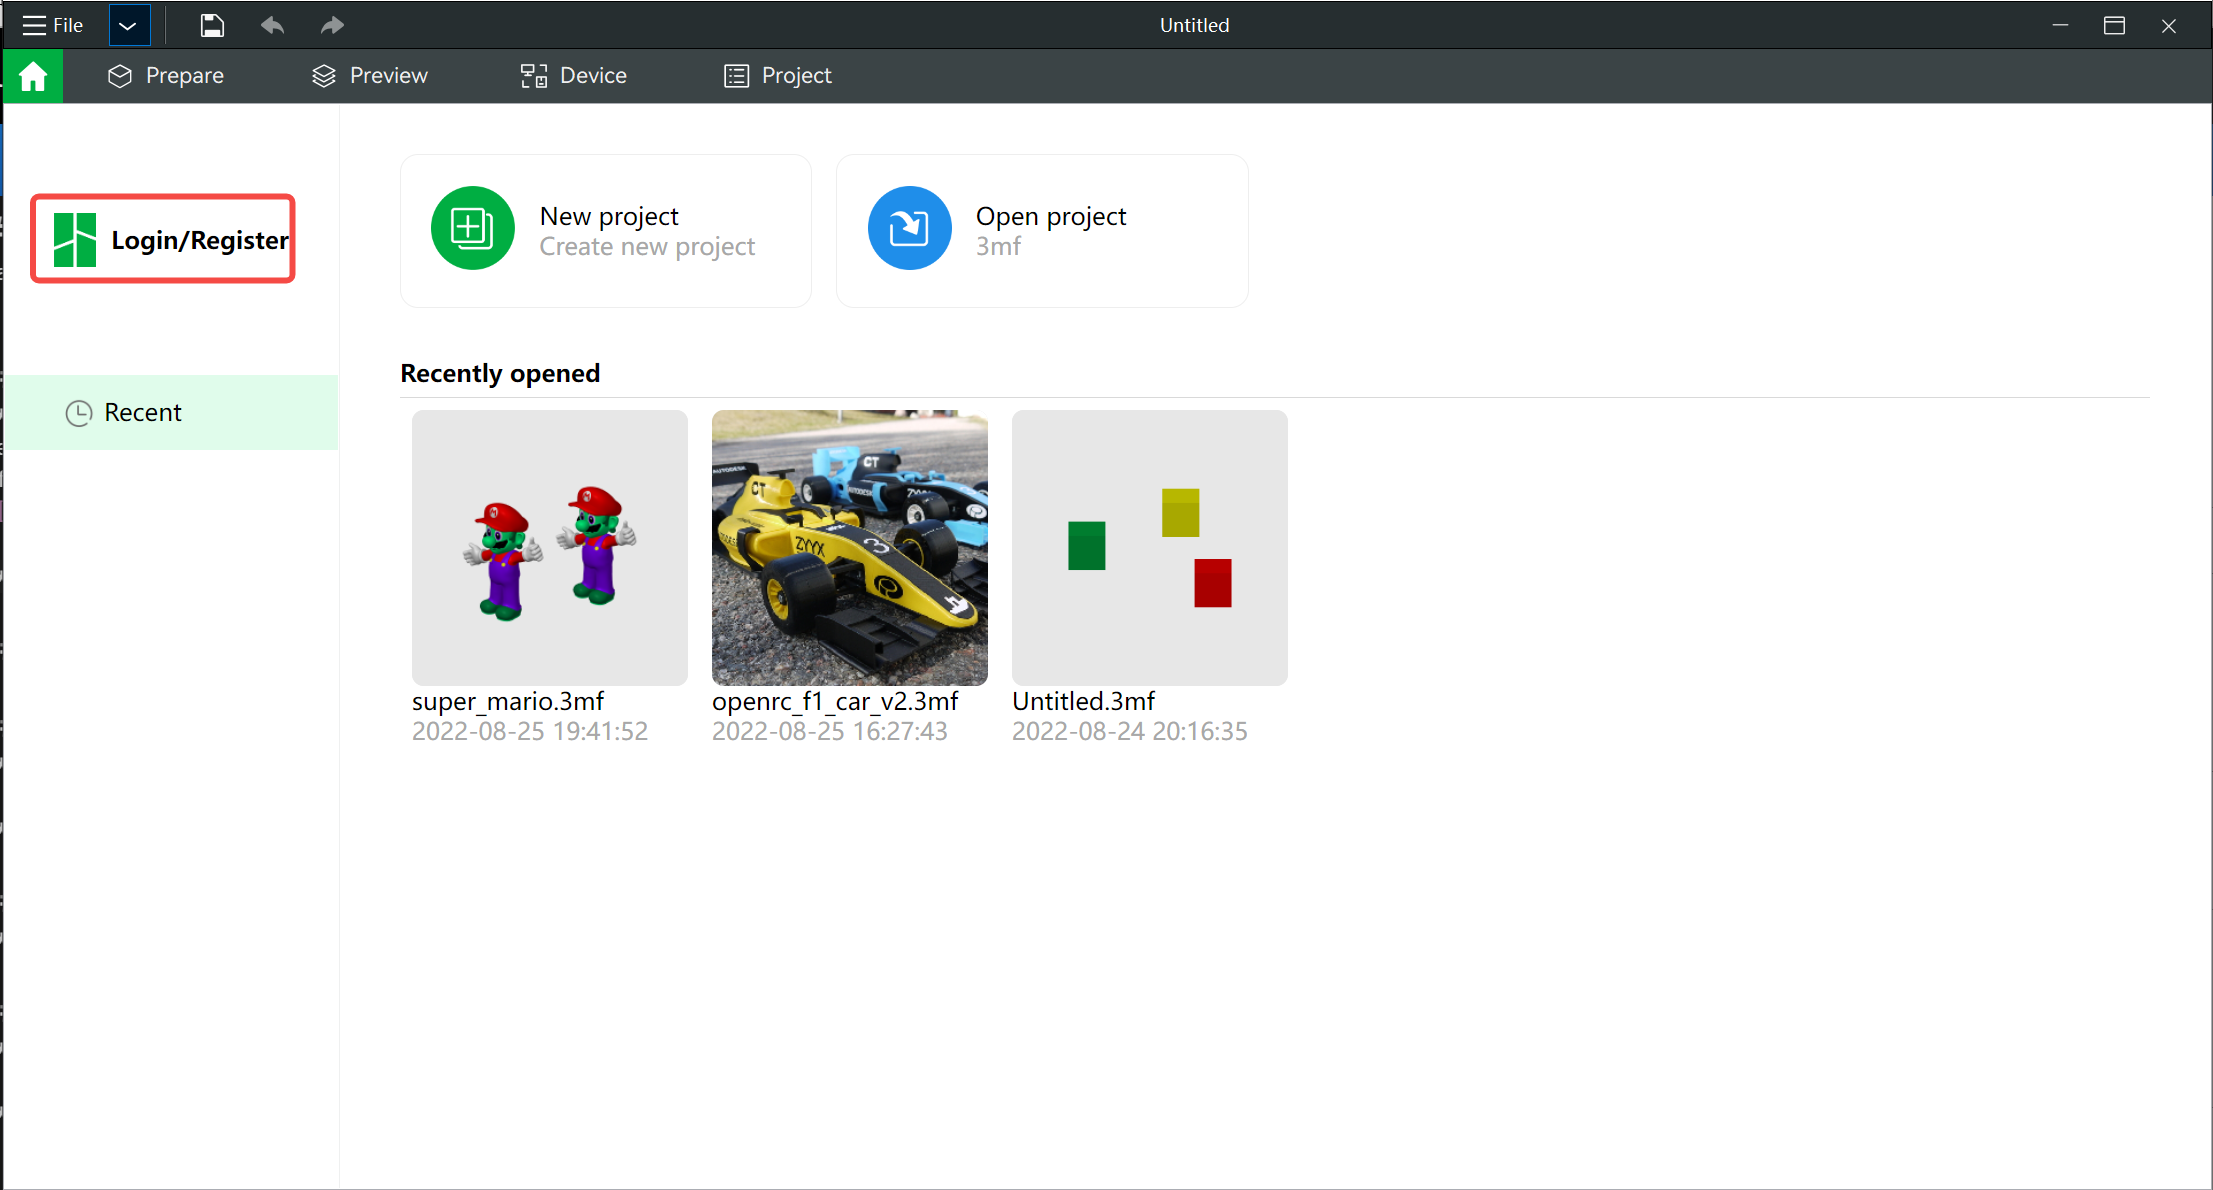
First, you must sign in using the “Sign in/Register” button on the first page.
Bind a Printer
If no printer is bound to your account, you can bind a printer found on the same LAN network.
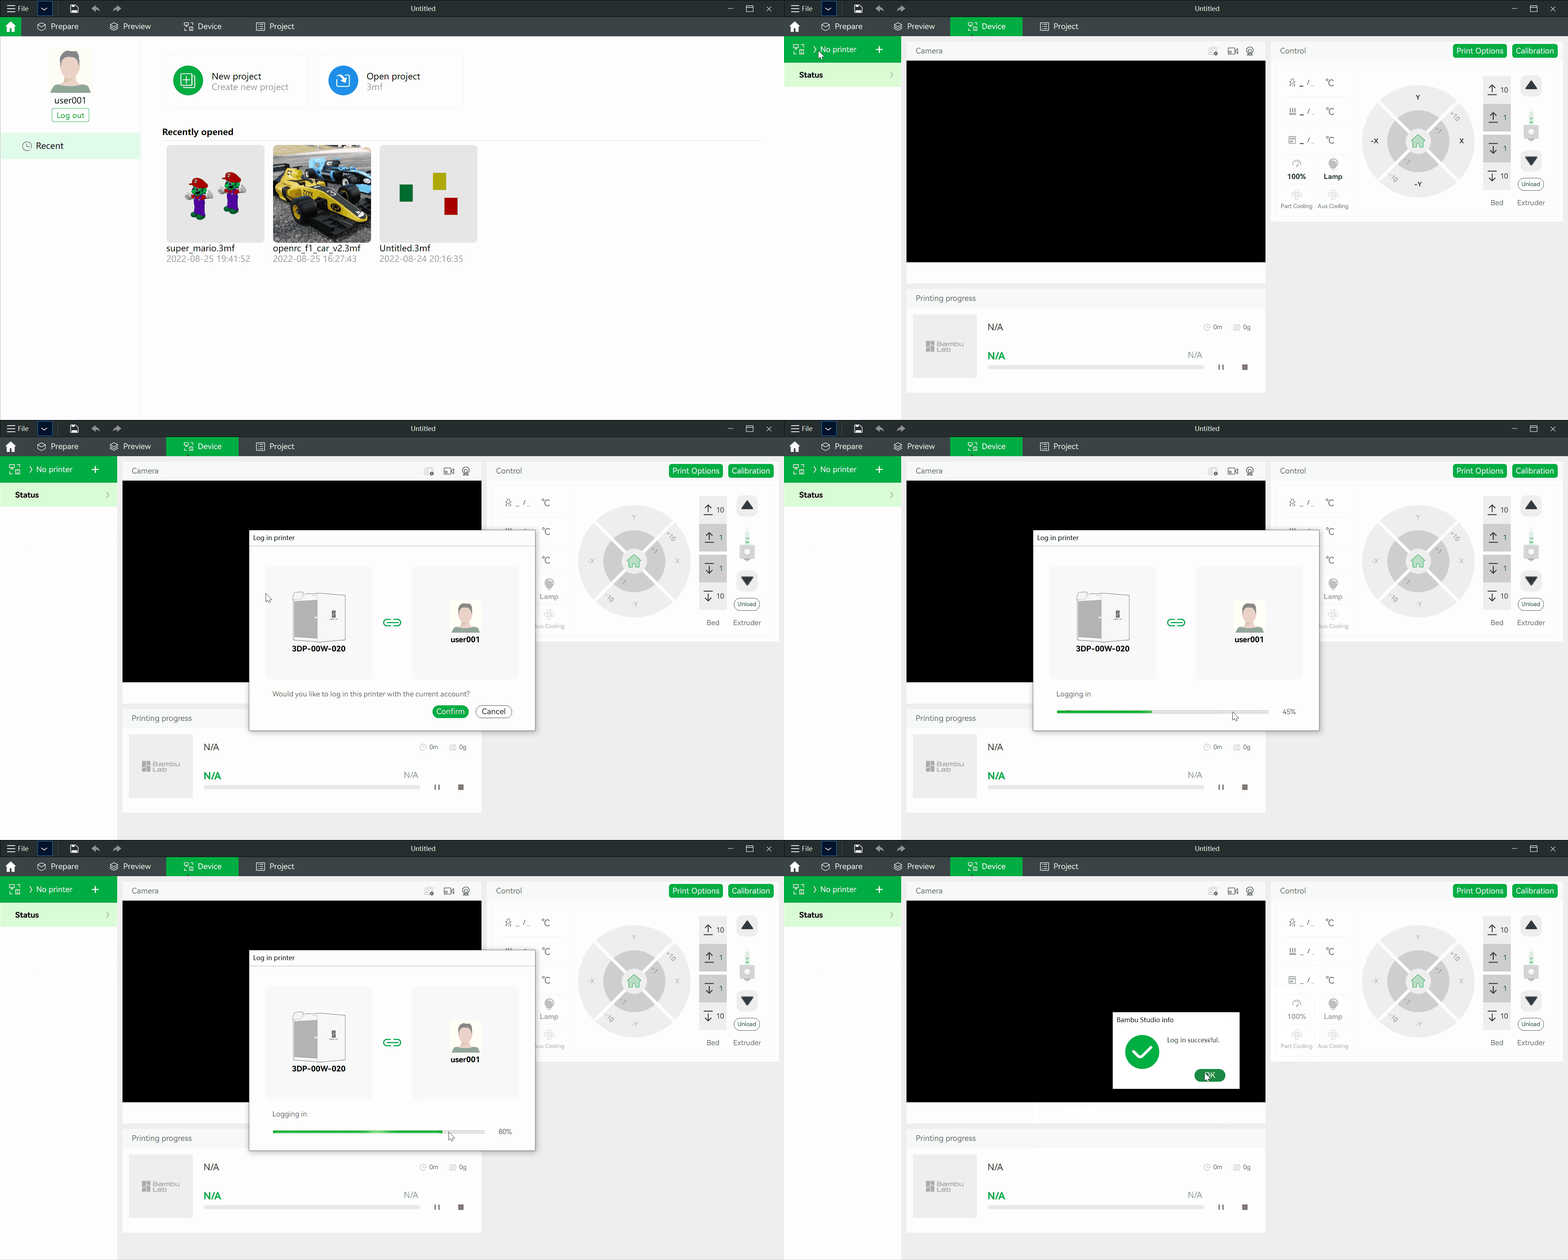
We can also bind additional printers using the same steps.
If we have bound more than one printer, we can select another printer from the printer list.
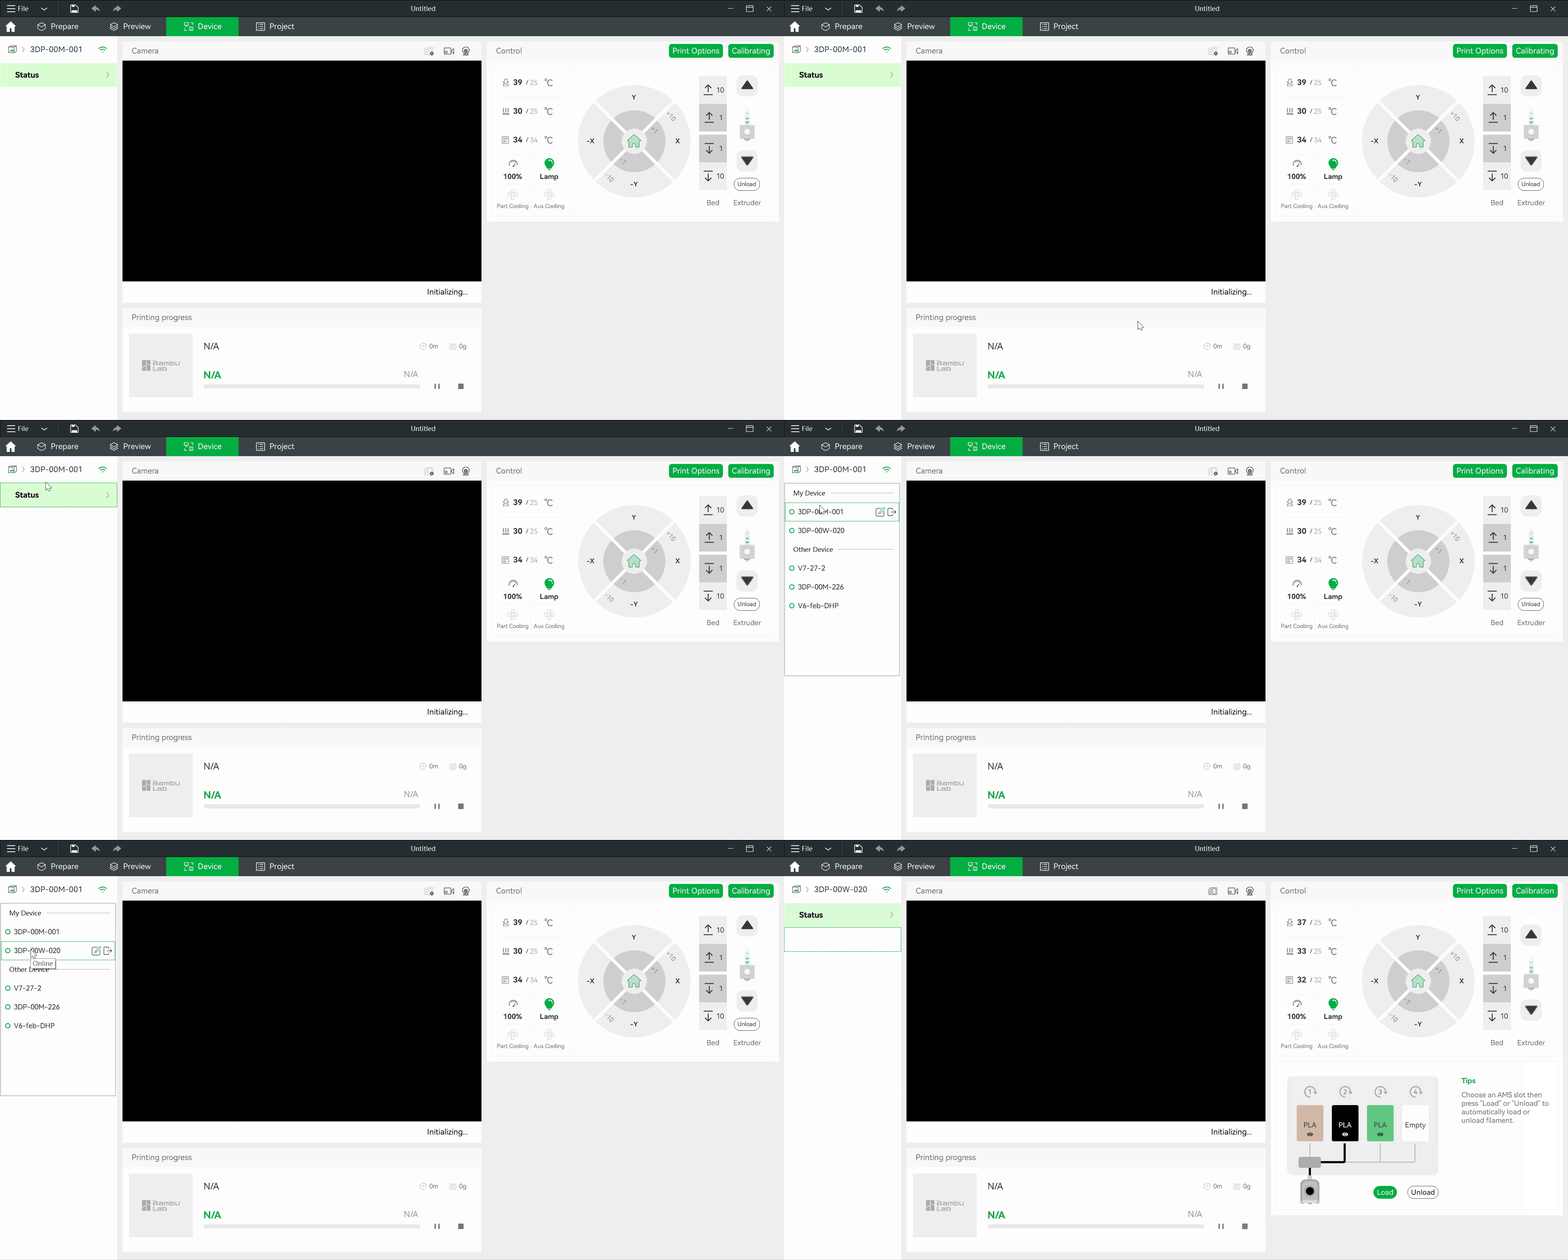
Introduction to the Main Features
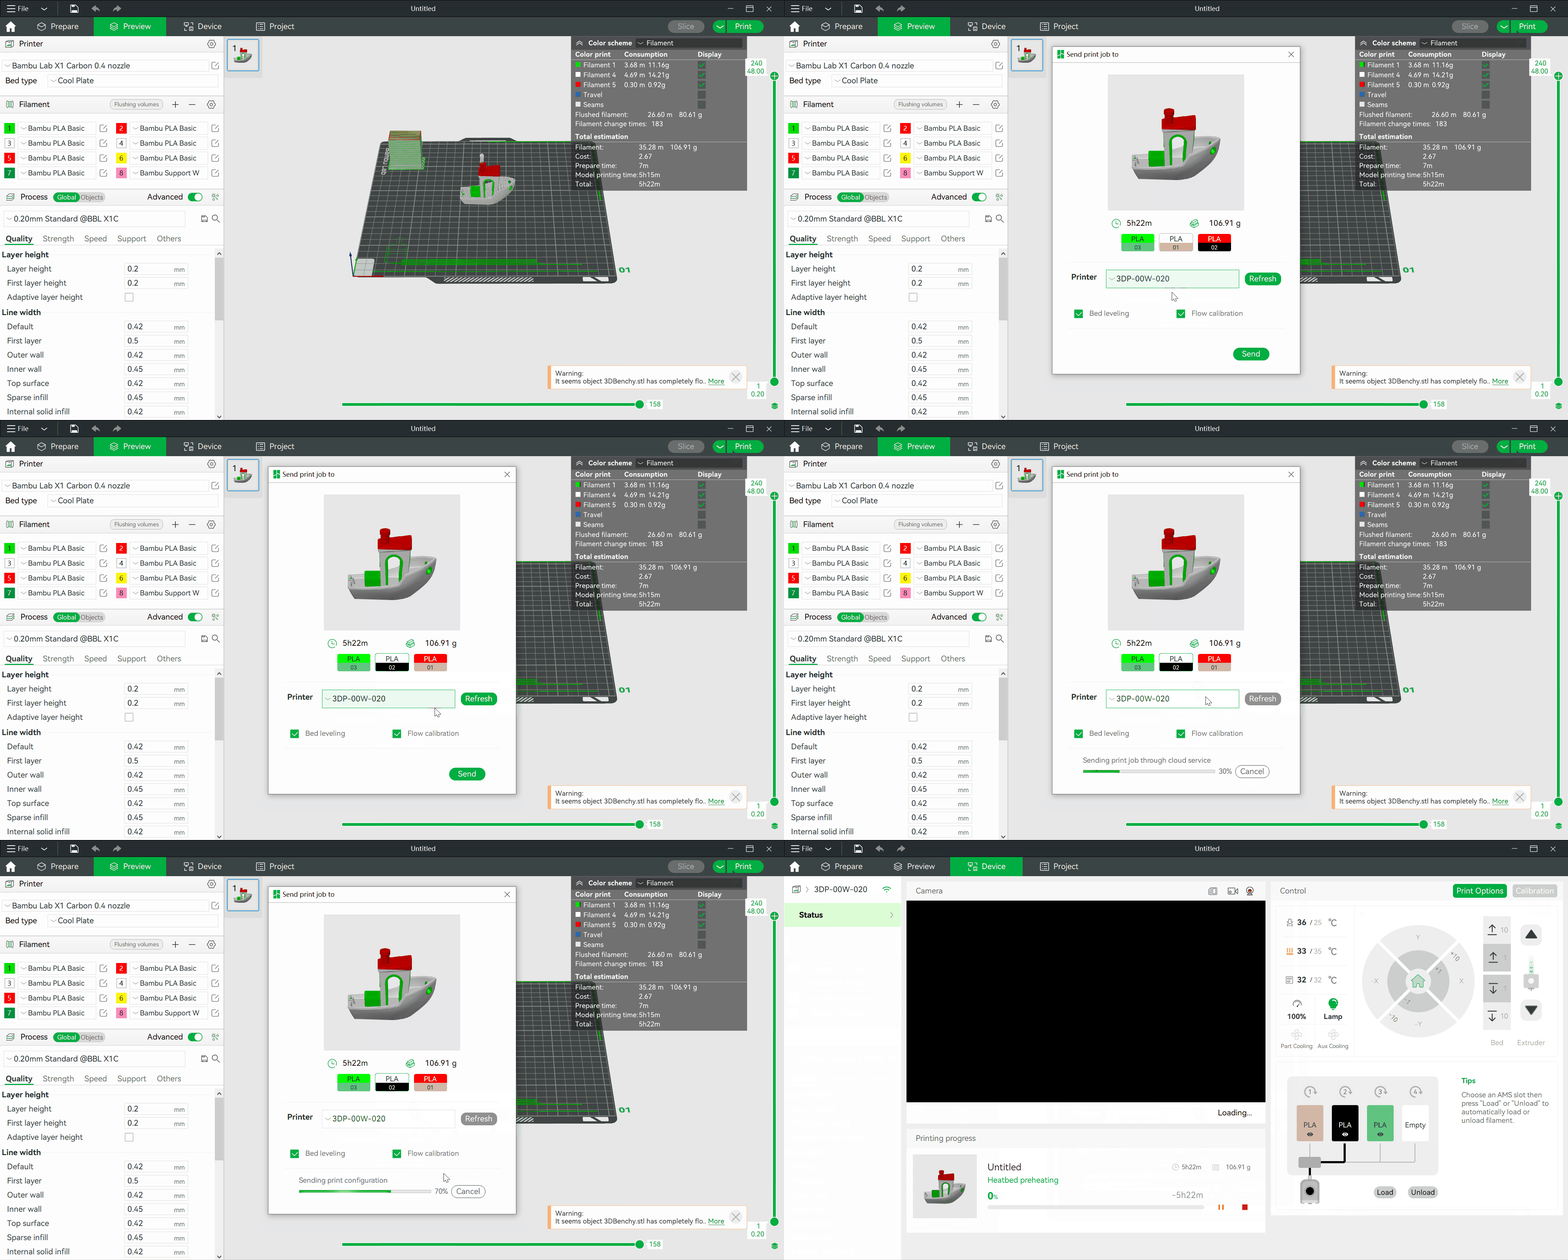
Remote Printing
After we have finished slicing the model, we can send the result to a printer for printing. In the print dialog, we can select which printer to use, and we can also select filaments in the AMS.
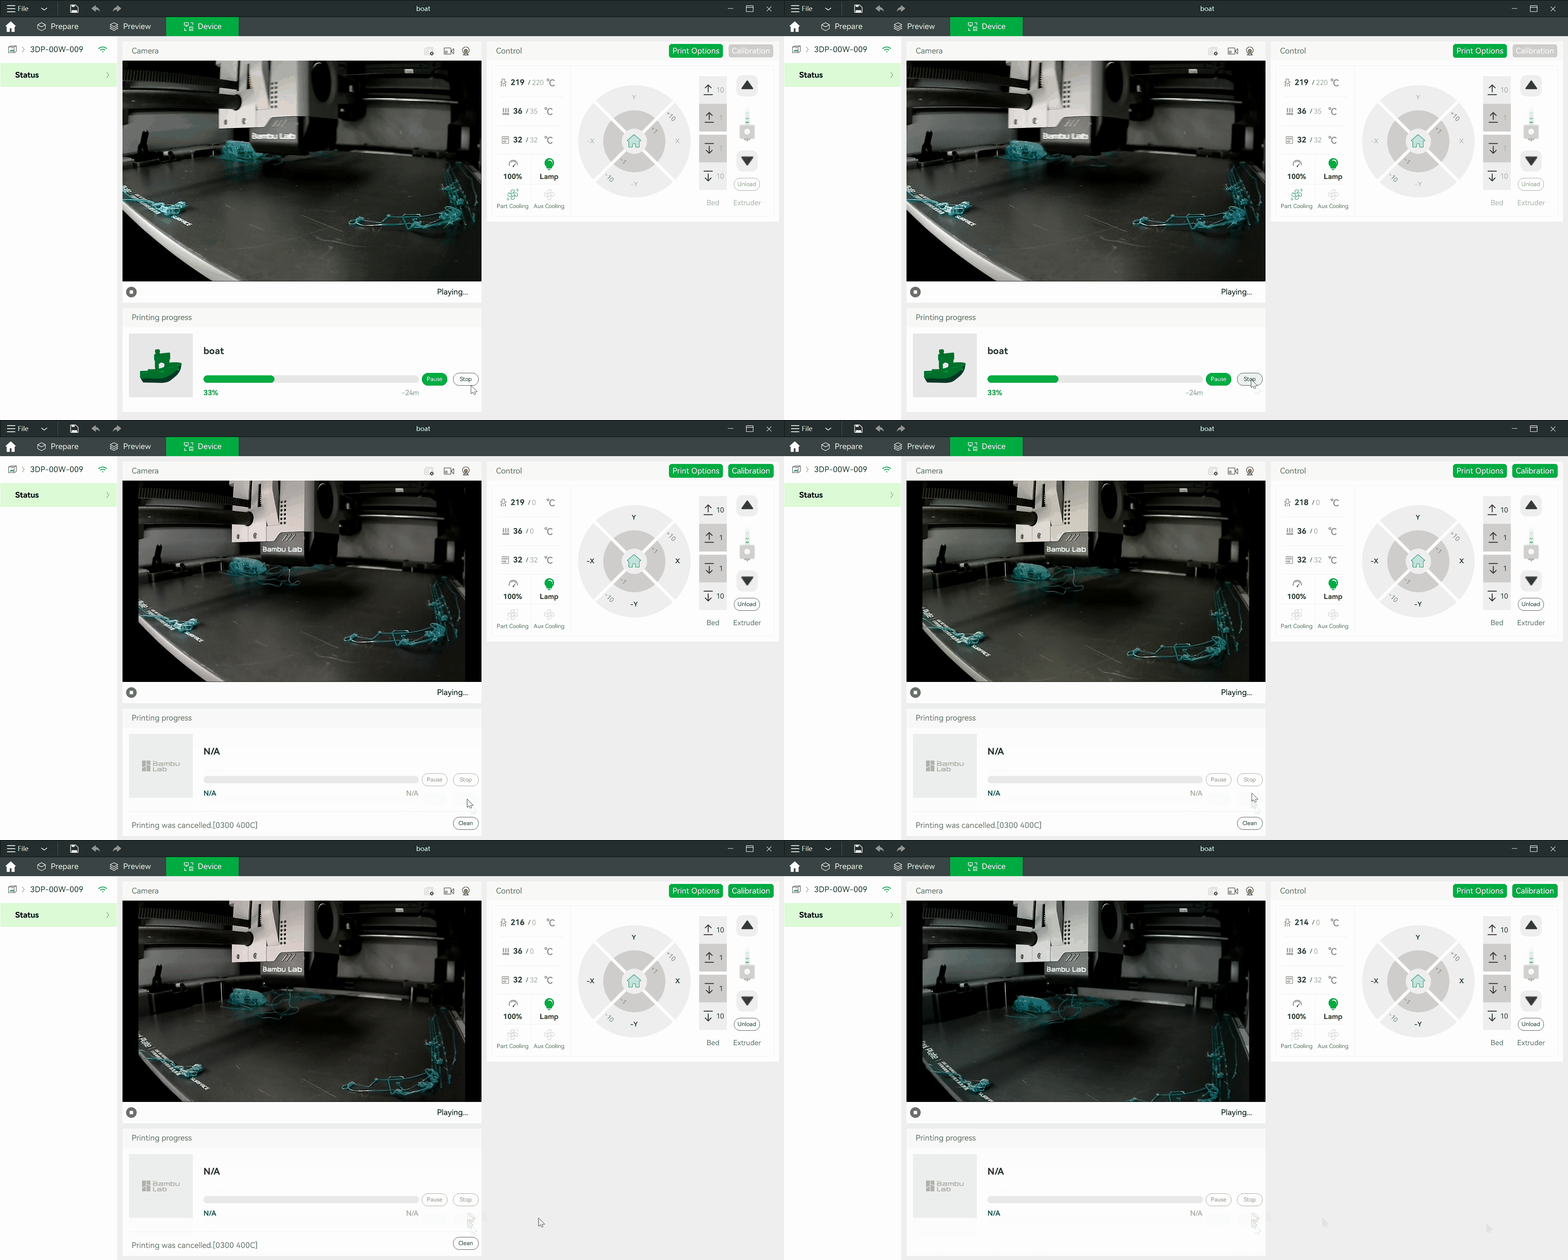
Print Job Control
After starting a print, we can find the “Print Progress” of the current print job. We can stop or pause/resume your current print job.
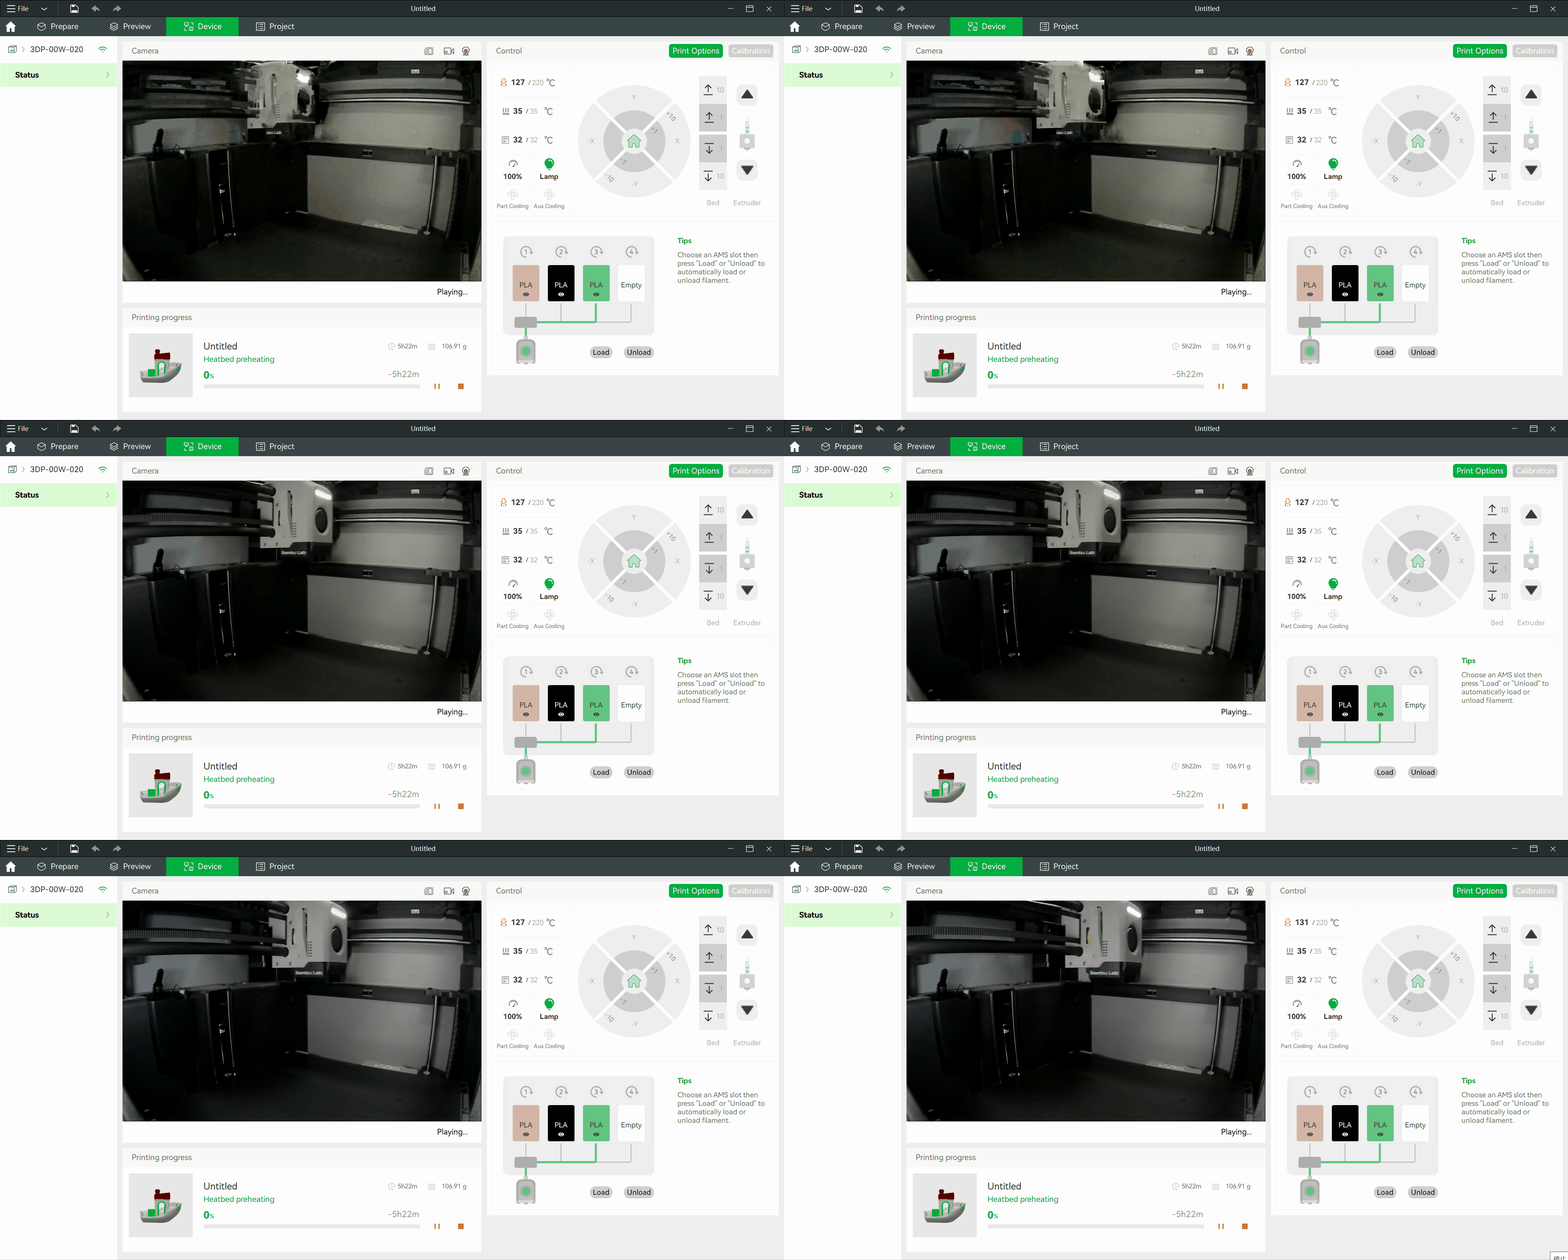
Live Webcam View Playback
Whether or not a print is in progress, we can monitor the printer from the “Camera” tab.
Printer Control
After selecting a printer, we can use the controls in the right panel of the “Device” page for the following operations:
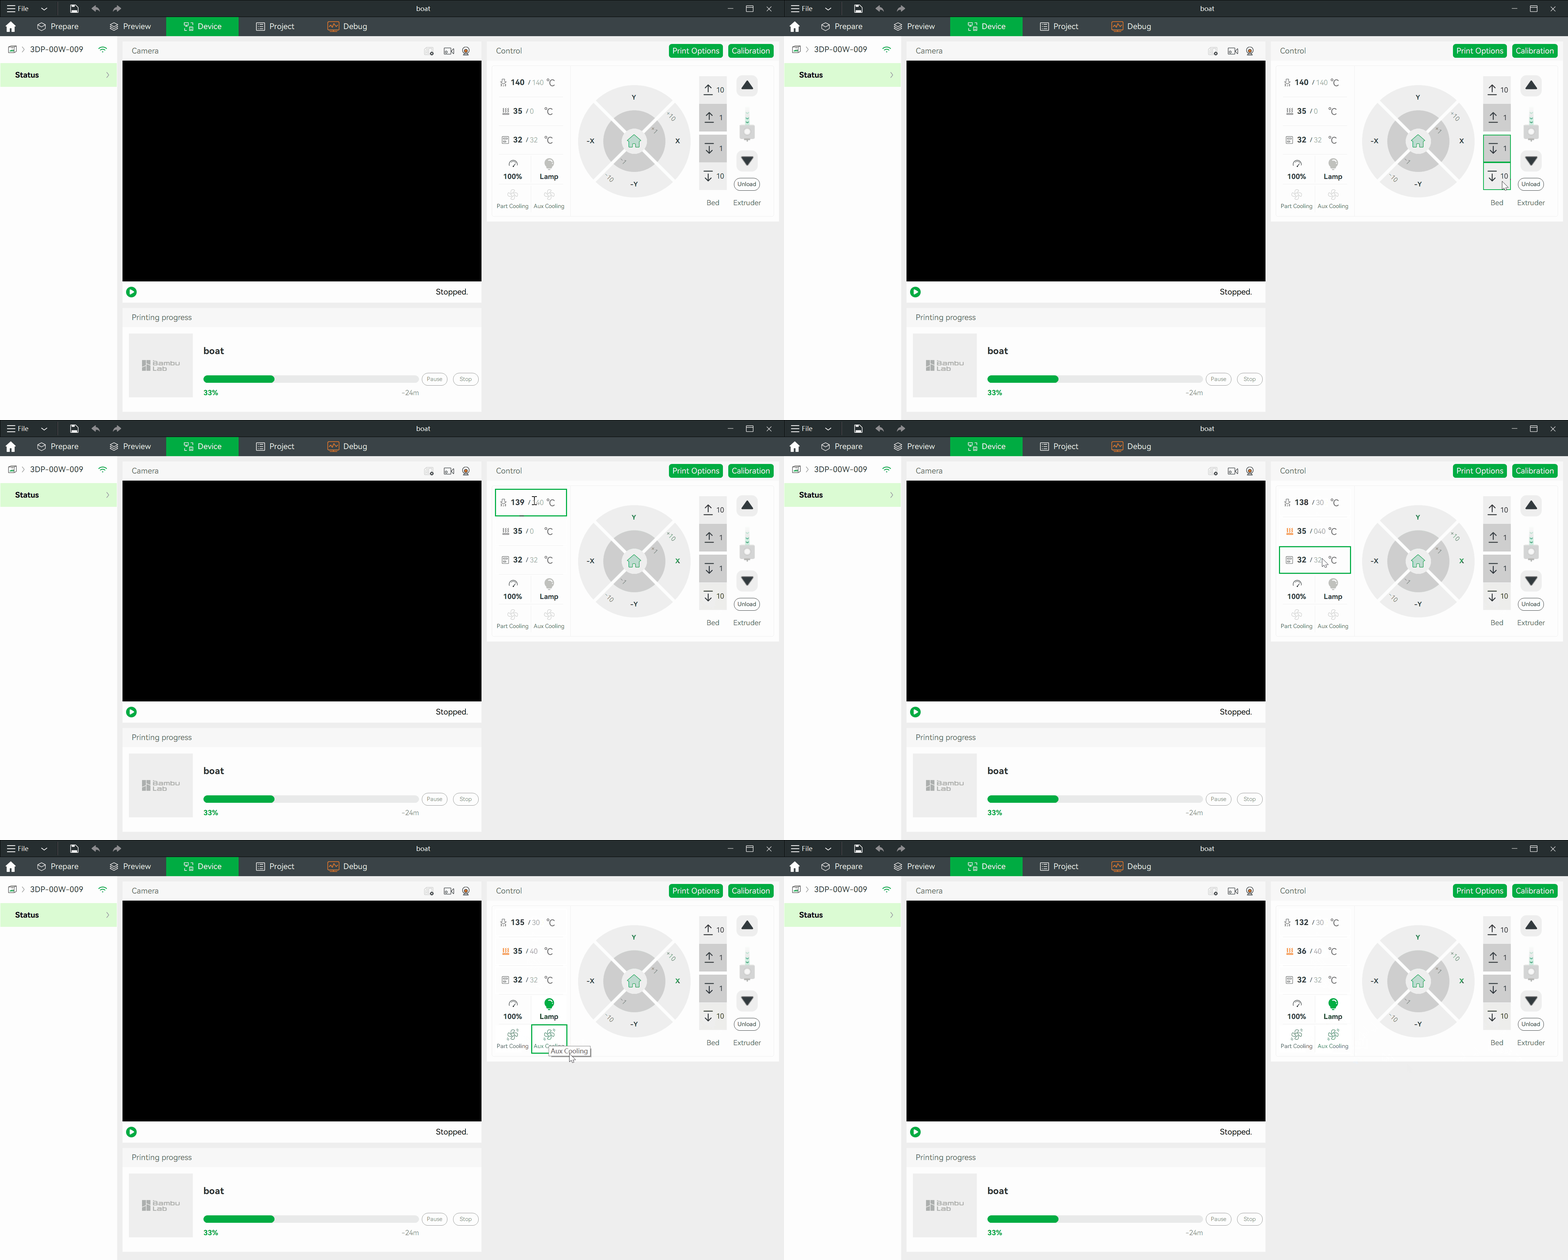
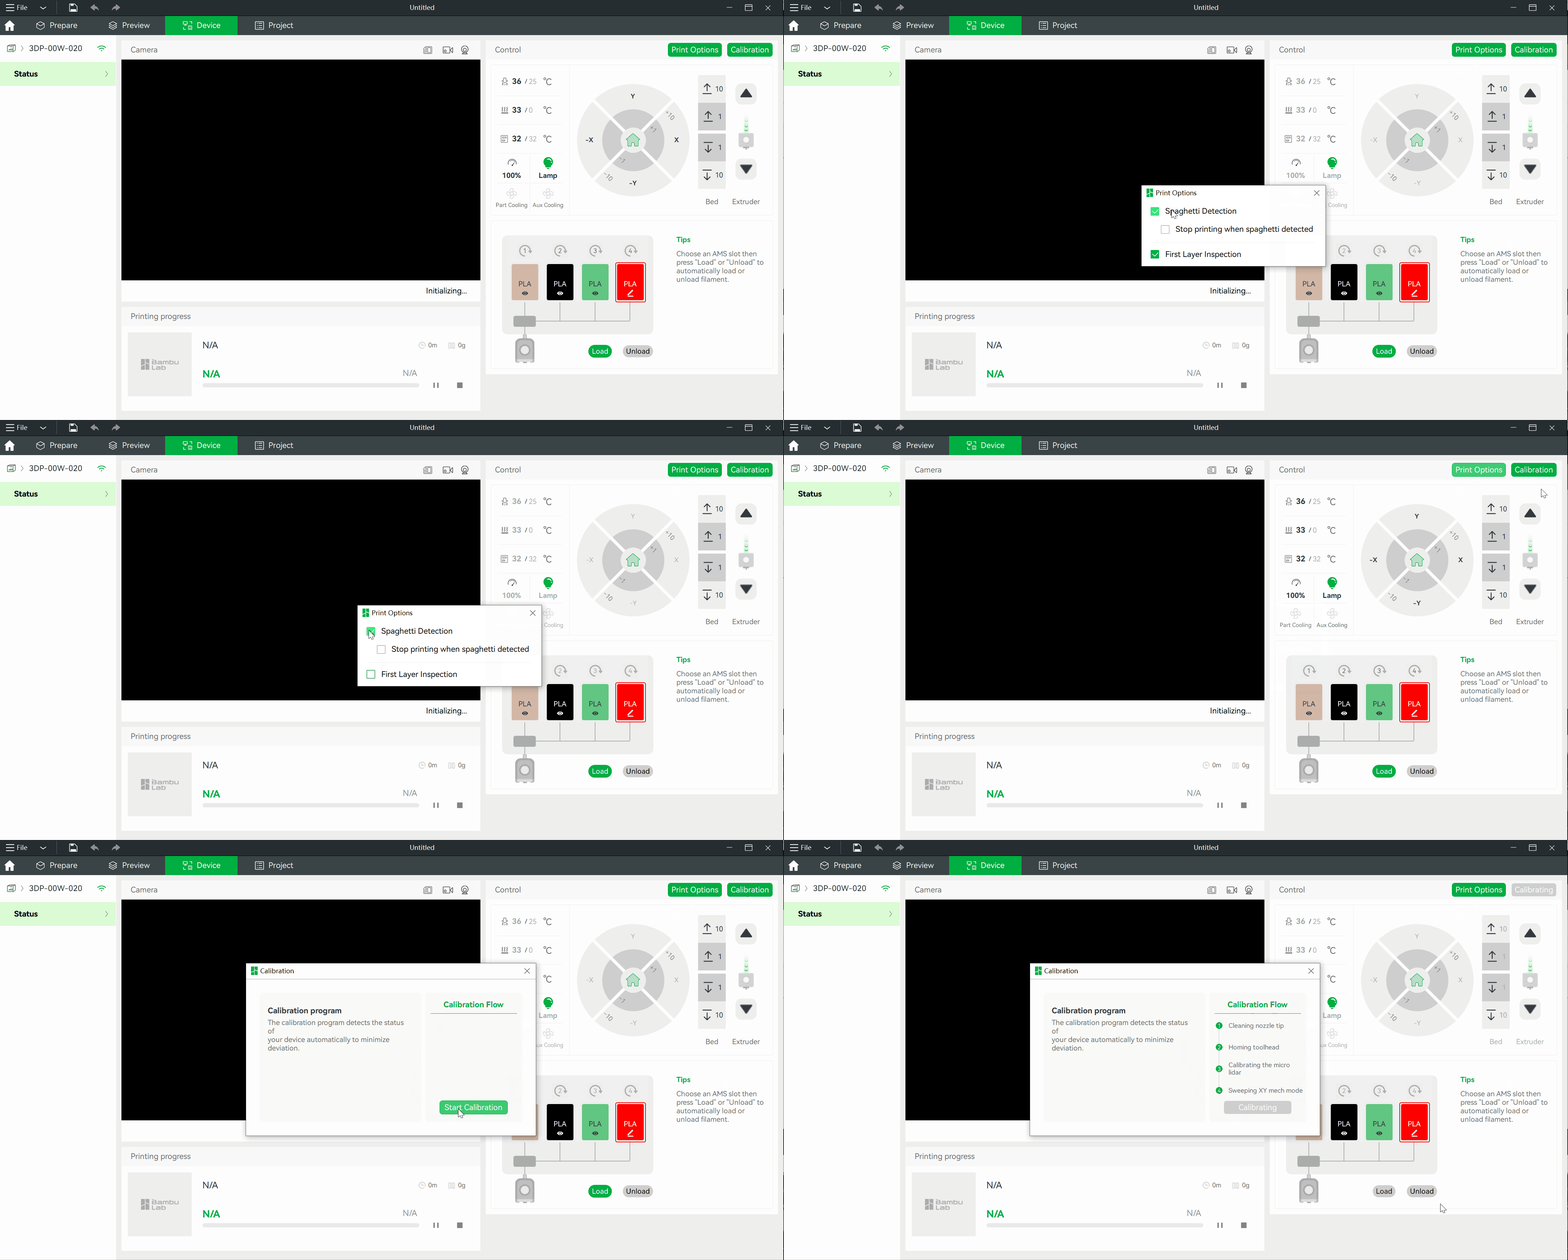
We can also use the print options to set the following options during printing:
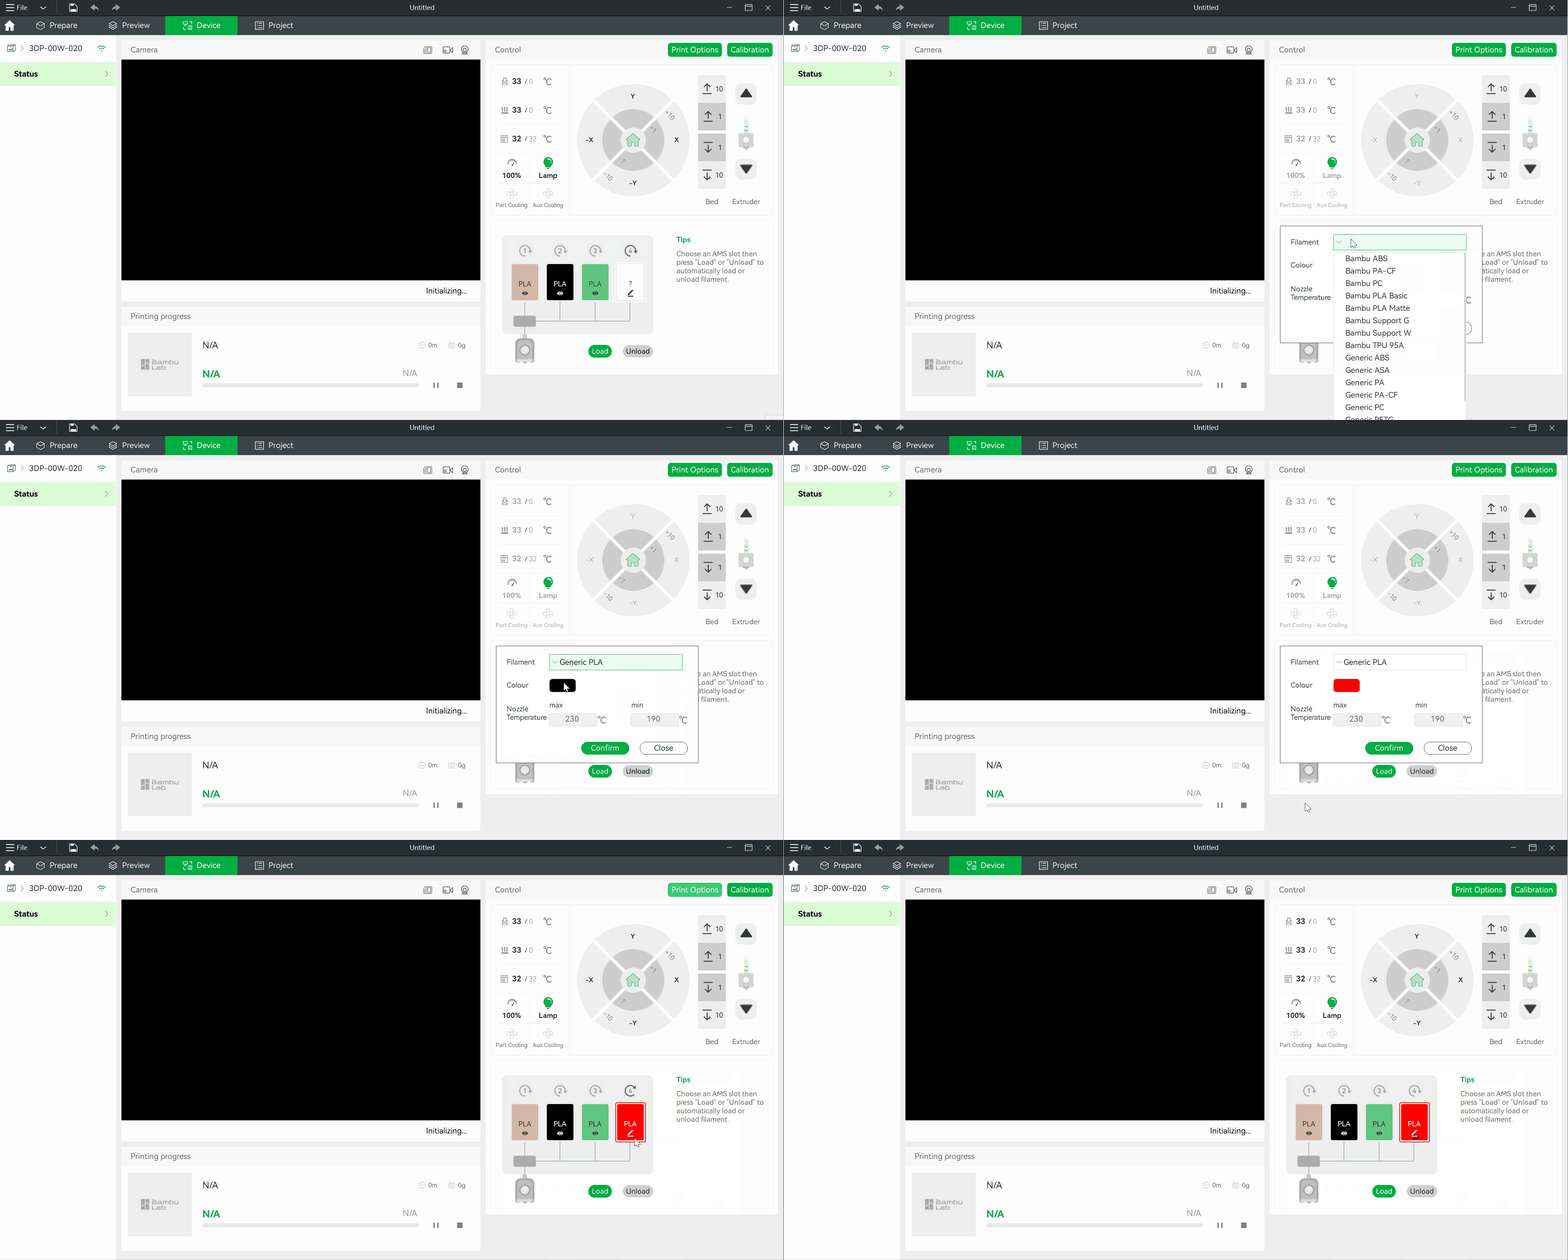
We can set the AMS filament using the AMS controls in the right panel of the “Device” page if the filament is not automatically recognized. We can also use the “Load/Unload” button to load/unload filament in the AMS.
Two Network Modes
Bambu Studio supports two network modes:
The printer is in Auto mode by default. We can enable the “LAN Only” option directly on the printer in the “Network Settings” menu.
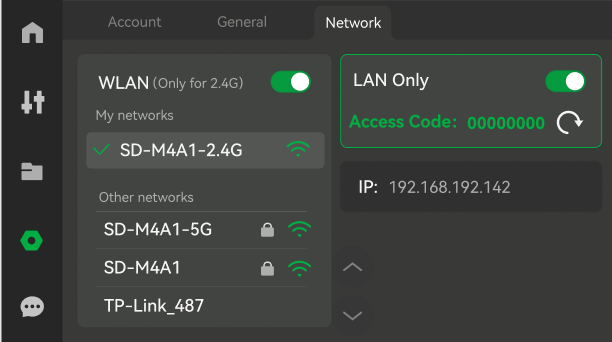
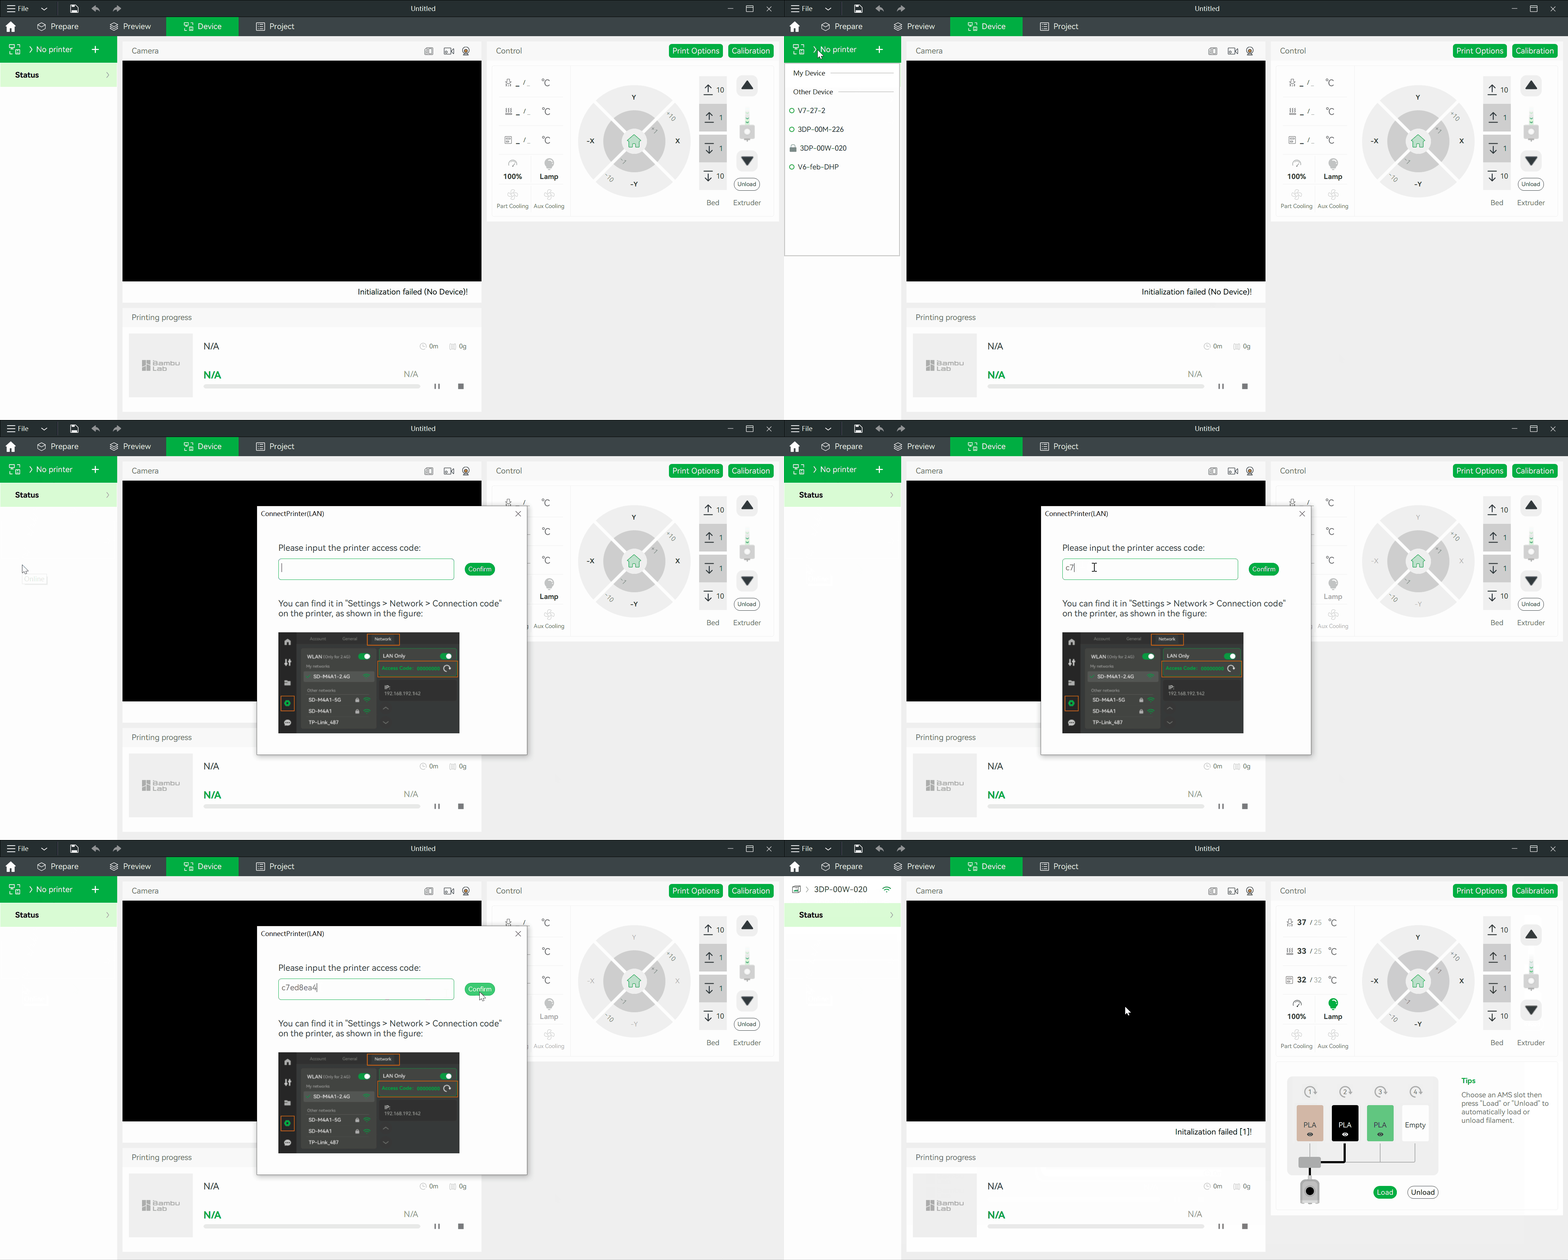
We can then bind the printer by entering the “Access Code” in the Studio app.