Free shipping from 1 999 Kč
Fast shipping
Verified store
Thousands of customers




Free shipping from 1 999 Kč
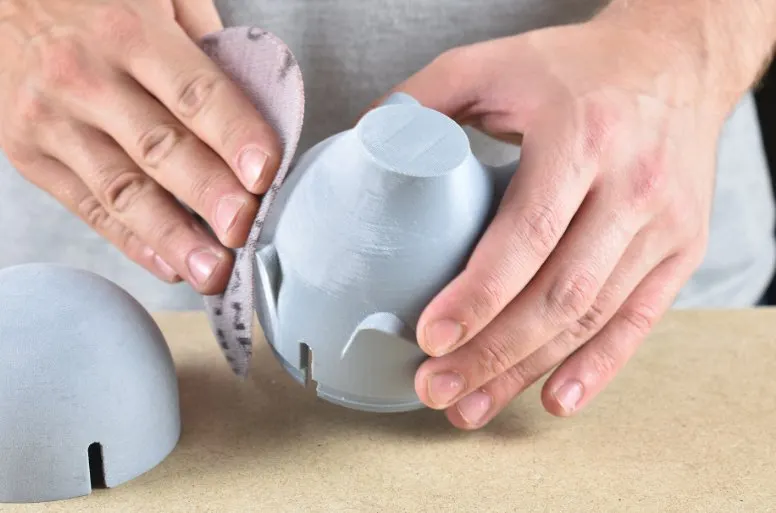
A print is not necessarily a finished product after removing it from the build plate. For a functional holder, it is often enough to remove the supports and clean up the edges, but for decorations, cosplay accessories, electronics enclosures or gift models, post-processing is what makes the difference. It removes visible layers, joins between parts and minor printing defects. The result can then look like injection-molded plastic, a painted prototype or a handmade model.
The good news is that you do not need a professional paint shop. You need to know what material you are working with, how smooth you want the surface and in what order to perform the individual steps. The most common mistake is starting with sandpaper that is too fine, applying too much filler, rushing the paint or using a solvent on a material it is not suitable for.
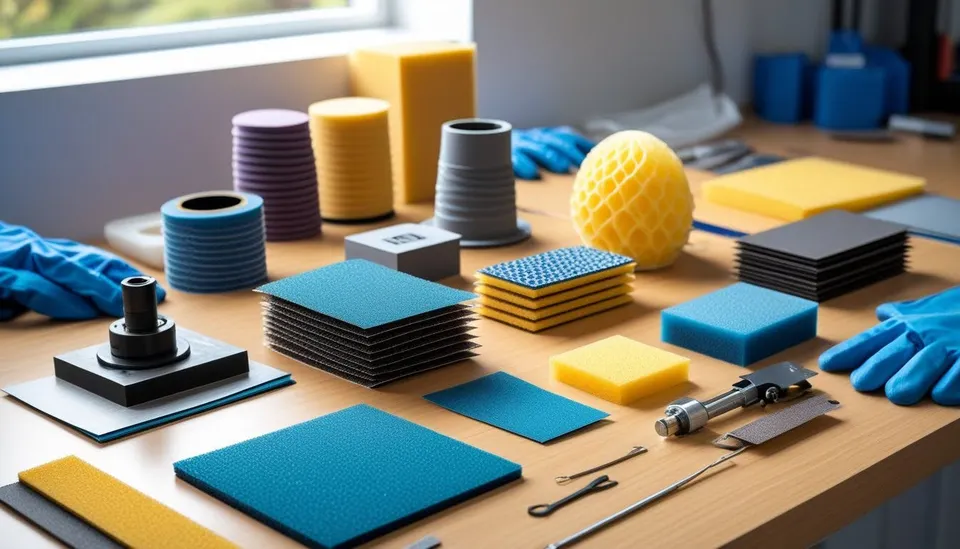
The basic kit for most FDM prints is simple: a sharp snap-off knife or scalpel, needle files, sandpaper in grits of approximately 120, 180, 240, 400, 600 and 1000, a sanding sponge, instant glue, two-part epoxy, spray filler, fine modeling putty, primer, final paint and, if needed, clear coat. A respirator, gloves, safety glasses and good ventilation are also useful.
For larger models, a sanding block is worth adding. Fingers follow uneven surfaces and easily create waves, whereas a flat block keeps the surface flat. A ible sanding sponge is better for curved surfaces. For small details, use a file, a cotton swab with sandpaper glued to it or a strip of sandpaper folded over a toothpick.
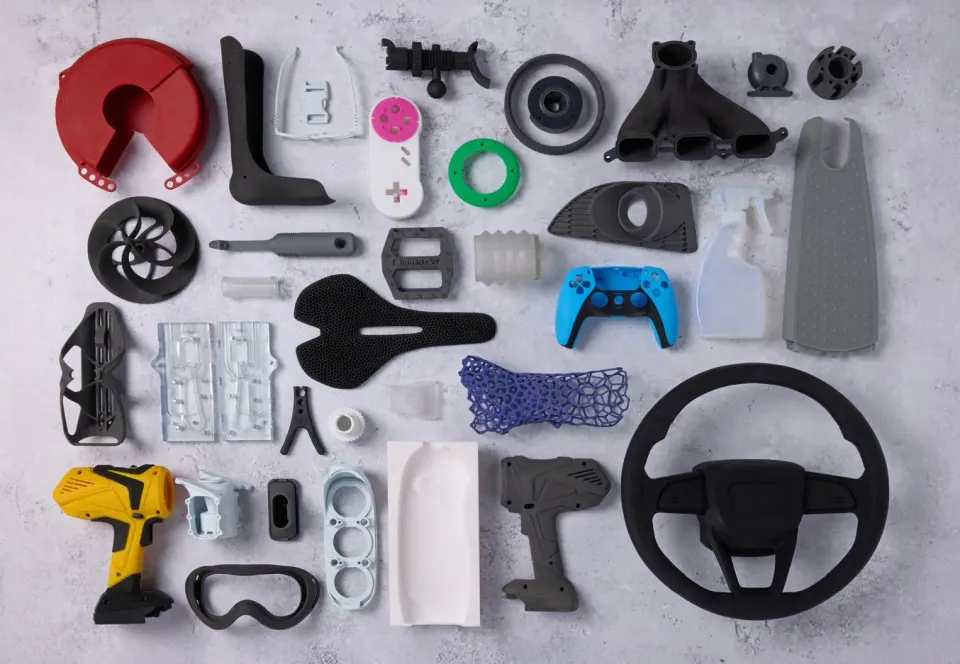
You will choose a different process for a figurine on a shelf than for a load-bearing holder in a car. A decorative model can have its layers hidden under putty, filler and paint. A functional part, however, must not lose its accuracy, ibility or strength. Every layer of putty and paint adds material. Therefore, protect the dimensions of holes, threads, latches and fitted surfaces with masking tape, or carefully clean them up again after finishing.
For parts that will be outdoors or in the sun, consider the material as well. PLA softens in heat, and post-processing will not turn it into a heat-resistant plastic. PETG is tougher, but more difficult to sand, and some paints adhere to it less well without a good primer. ASA and ABS can be chemically smoothed beautifully, but working with solvents requires a significantly stricter safety regime.
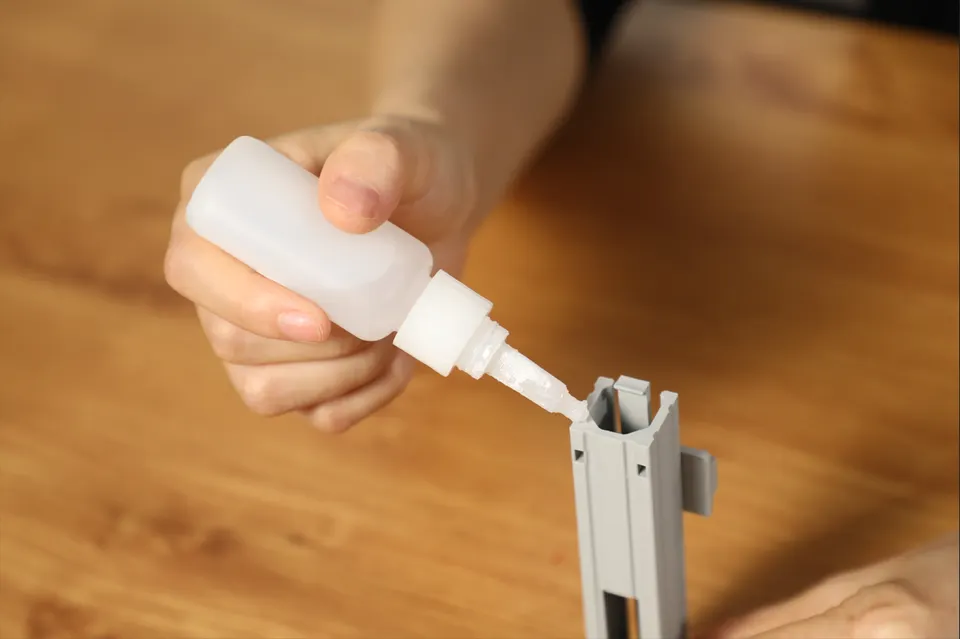
Before opening the glue, dry-fit the parts. Remove support residue, strings, elephant's foot and bumps at the joint. Lightly roughen the edges with approximately 180 to 240 grit sandpaper so the glue has something to mechanically anchor to. For long joints, prepare clamps, rubber bands or painter's tape. For complex models, make small marks on the inside so the parts do not rotate during gluing.
For PLA, instant glue is the fastest choice. Thin glue flows into a precise joint, while gel glue fills small gaps better and does not run as much. An activator speeds up curing, but can leave a whitish coating, so use it sparingly and preferably away from visible surfaces.
PETG tends to be more stubborn when gluing. Instant glue may work for light decorative joints, while two-part epoxy or plastic adhesive is more suitable for stronger assemblies. Degrease and roughen the joint beforehand. If the joint is under stress, do not rely on glue alone. Add pins, locks, screws, inserted wires or printed pegs.
ABS and ASA can also be solvent-bonded, because the surface can be partially etched and, after the solvent evaporates, the joint behaves more like welded plastic. This is strong, but less forgiving of mistakes and requires ventilation, gloves and caution. For large parts, epoxy is more practical because it allows time for precise positioning.
With ible materials such as TPU, expect a hard, brittle joint to peel off when bent. Look for a ible contact or polyurethane adhesive and always test it on a scrap piece.
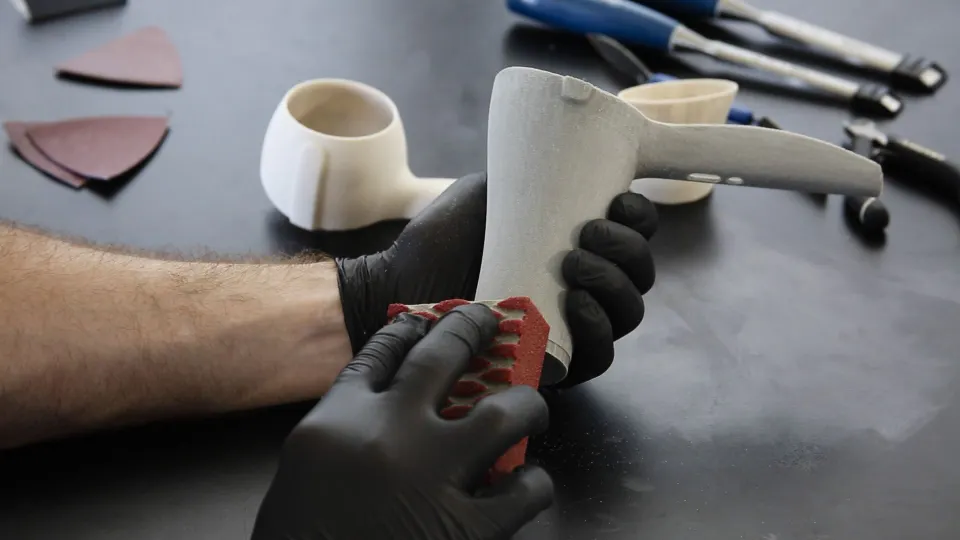
Sanding does not mean taking the finest paper and waiting for a long time. Start as coarse as necessary, but no coarser. If you need to level layers, support residue or the transition between two glued parts, start at approximately 120 to 180 grit. Once the shape is right, move to 240, then 400, and for a painted surface, 600 to 1000. Skipping grits only appears to save time. Fine paper cannot quickly remove scratches left by coarse sanding.
Sand PLA with light pressure. During prolonged dry sanding, the plastic heats up, softens and begins to smear. Short strokes, frequent cleaning of the paper and wet sanding for the finer steps help. PETG can also smear and stretch during sanding, so use sharp sandpaper, less pressure and more patience. ABS and ASA are more pleasant to sand, but you should not breathe sanding dust from any material.
Clean the part after every step. Dust in the scratches can deceive the eye and appear as dirty patches after spraying the primer. For dry cleaning, a soft brush is enough; finish with water and a drop of dish soap or a suitable degreaser depending on the material. The part must be completely dry before painting.
Use filler for defects, not as plaster over the entire model. Modeling or acrylic putty is enough for small gaps, scratches and support marks. Apply it with a spatula or an old card, press it into the gap and scrape off the excess immediately. The less filler remains outside the defect, the less you will have to sand.
Two-part polyester or epoxy putty is suitable for larger joints and deeper gaps. It holds better and shrinks less, but hardens quickly and smells, so work in small batches. For glued models, the best process is usually: glue, reinforce the joint from the inside, fill the gap, sand, spray filler, inspect and fill locally again.
Spray filler is ideal for fine layers after FDM printing. Do not spray one thick coat. Two or three thin coats with time to air out are better. After curing, sand the surface with 400 to 600 grit. Filler highlights defects, so do not be alarmed if the first coat reveals more flaws than the bare plastic. That is exactly why it is used.
For very smooth decorative prints, you can also use a thin epoxy coating. It fills the layers and creates a strong surface, but it can fill in details, round off sharp edges and add weight. It is more suitable for cosplay, props and large organic shapes than for precise mechanical parts.
The final color will never hide poor preparation. If scratches are visible after priming, they will also be visible after painting, only more prominently. After sanding, wash the part, degrease it and let it dry. Remove dust with a soft brush or air blow-off. Use masking tape on areas that must retain dimensional accuracy.
Apply primer or filler first. For PLA and PETG, it is a good idea to use a primer suitable for plastics. Spray from the distance recommended by the spray manufacturer and start off the part so the first drops do not create a spot. Move smoothly and add another thin coat rather than one wet coat that runs.
After priming comes a check sanding. The matte surface beautifully reveals shiny depressions that have not yet been leveled. Once the primer is even, you can apply the paint. Acrylic sprays, airbrushes and brushes all work for models and prototypes. A spray is fast for larger surfaces, an airbrush offers the best control on small models and a brush is useful for details.
Choose the clear coat according to its use. Matte clear coat hides minor imperfections and looks realistic on figurines. Glossy clear coat emphasizes the shape, but also shows every wave. Satin is a good compromise for enclosures, holders and technical models. On parts subject to stress, let the clear coat cure longer than just until it is touch-dry. The surface may be dry after an hour, but mechanically resistant only later.
Chemical smoothing is appealing because it can soften layers without lengthy sanding. However, it is not universal. The best-known method is smoothing ABS and ASA with acetone. The vapors etch the surface, the layers fuse together and the part gains a smooth to glossy appearance. Excessively long exposure, however, removes sharp details, rounds edges and can change dimensions.
Acetone is flammable, and its vapors are not suitable for an enclosed room without ventilation. Do not use an open flame, do not heat the solvent improvisedly and do not work near sources of sparks. Let the part air out for a long time after smoothing, because the softened surface is susceptible to fingerprints and deformation.
PLA and PETG are not normally smoothed reliably with acetone. With these materials, mechanical sanding, filler, putty or an epoxy coating is safer. PVB is a material designed for smoothing with alcohol, but if you are printing standard PLA, PETG, ABS or ASA, always follow the specific filament's instructions and test a piece of the print first.
| Material | Glued joints | Sanding | Smoothing | Note |
|---|---|---|---|---|
| PLA | Instant glue, epoxy | Easy, watch out for heating | Preferably putty, filler, epoxy | Good for decorations and prototypes, poor for heat |
| PETG | Epoxy, plastic adhesives, roughened joint | Tough, sometimes smears | Preferably mechanically and with filler | Excellent for functional parts, needs a good base under the paint |
| ABS | Epoxy, solvent bonding | Sands well | Acetone smoothing | Requires ventilation and caution with solvents |
| ASA | Epoxy, solvent bonding | Sands well | Acetone smoothing | Suitable for outdoors, a good choice for smooth technical enclosures |
| TPU | Flexible adhesives | More difficult | Not suitable for standard chemical smoothing | Test the ibility of the joint on a scrap piece |
| Resin | Instant glue, epoxy | Very fine sanding | Polishing, clear coat | Use dust protection when sanding |
For a quick functional part, remove the supports, chamfer sharp edges with a file, sand the contact surfaces with 240 to 400 grit and leave it unpainted. For holes, use a drill by hand or at low speed to prevent the plastic from overheating.
For a smooth electronics enclosure, glue the parts with epoxy or instant glue and pins, fill the gaps, sand with 240 to 400 grit, spray filler, sand with 600 grit, then spray primer, paint and satin clear coat. Mask mounting surfaces and threads.
For a cosplay helmet or prop, first join the segments from the inside, reinforce them with a strip of plastic, fiberglass or epoxy, fill the gaps from the outside, and repeat priming and sanding until the layers disappear. Only then begin with paint, weathering and clear coat.
For a figurine or decoration, it is worth printing with a lower layer height from the start. Post-processing then does not have to deal with deep steps. Use fine files, local filler, thin coats of spray filler and apply the paint gradually so it does not fill in fine details.
The first mistake is using the wrong order. If you paint a part before leveling the gaps, you will be repairing the paint instead of the model. The usual correct order is clean, glue, reinforce, fill, sand, apply filler, sand again, prime, paint and clear-coat.
The second mistake is using too much pressure when sanding. Pressure does not speed up the work as much as using the correct grit. Instead, it heats the plastic, clogs the sandpaper and creates unevenness. Let the abrasive do the work and replace it frequently.
The third mistake is failing to test compatibility. Some sprays react with the substrate, some adhesives become brittle and some solvents damage details. A scrap, failed print or the inside of the part can save you from ruining the model.
The fourth mistake is rushing the curing process. Touch-dry does not mean ready for sanding, masking or assembly. Putty, filler, paint and clear coat all need time. If the sandpaper sticks or the surface forms crumbs, wait longer.
Postprocessing is a craft. After the first print, not every layer line may disappear, but you will quickly discover which steps have the greatest effect. For most standard models, a simple rule applies: a good bond, patient sanding, thin layers of filler and primer, a quality undercoat, and only then paint. If you follow this order, even an ordinary FDM print can look like a finished product.


