Free shipping from 1 999 Kč
Fast shipping
Verified store
Thousands of customers




Free shipping from 1 999 Kč
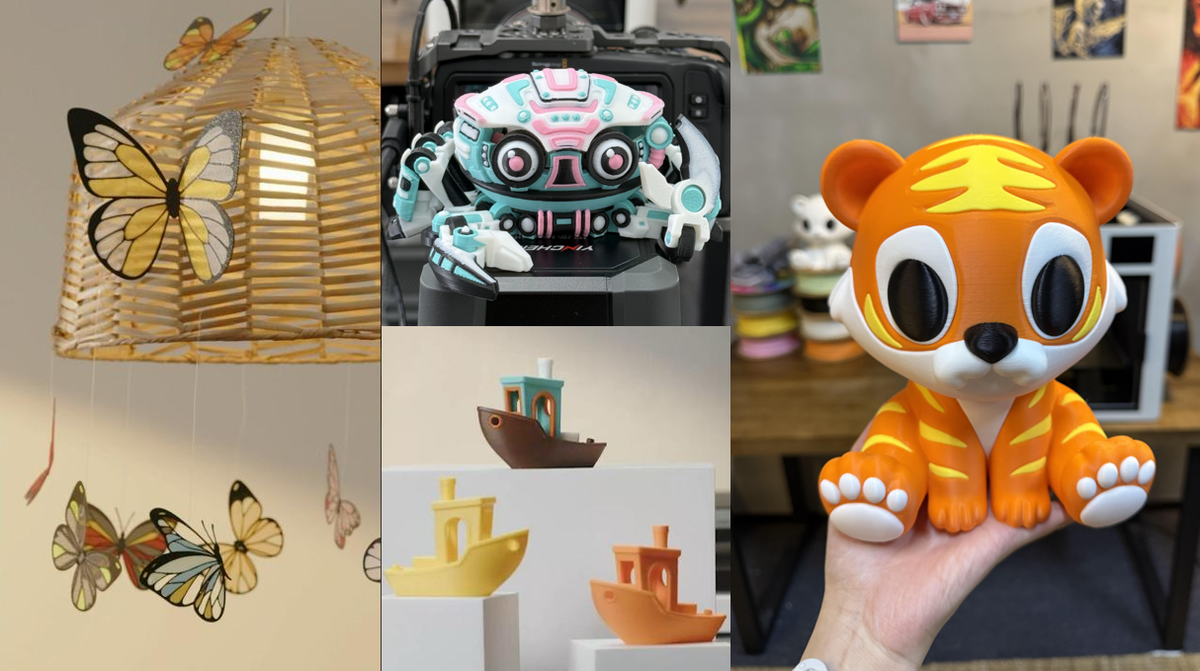
Multicolor 3D printing is no longer just an impressive demo for a trade show booth. In 2026, it is becoming a common consideration when choosing a printer: is it worth paying extra for AMS, MMU, CFS, or a toolchanger? The answer depends mainly on what you are going to print. Some models look significantly better in multiple colors, while others only unnecessarily extend print time and produce a pile of waste.
The basic rule is simple: use multiple colors where color conveys information, makes orientation easier, or turns an ordinary part into a ready-made gift. If it is just decoration on a single surface, a color change by layer is often enough. If colors alternate in every layer and on multiple sides, an automatic system makes more sense.
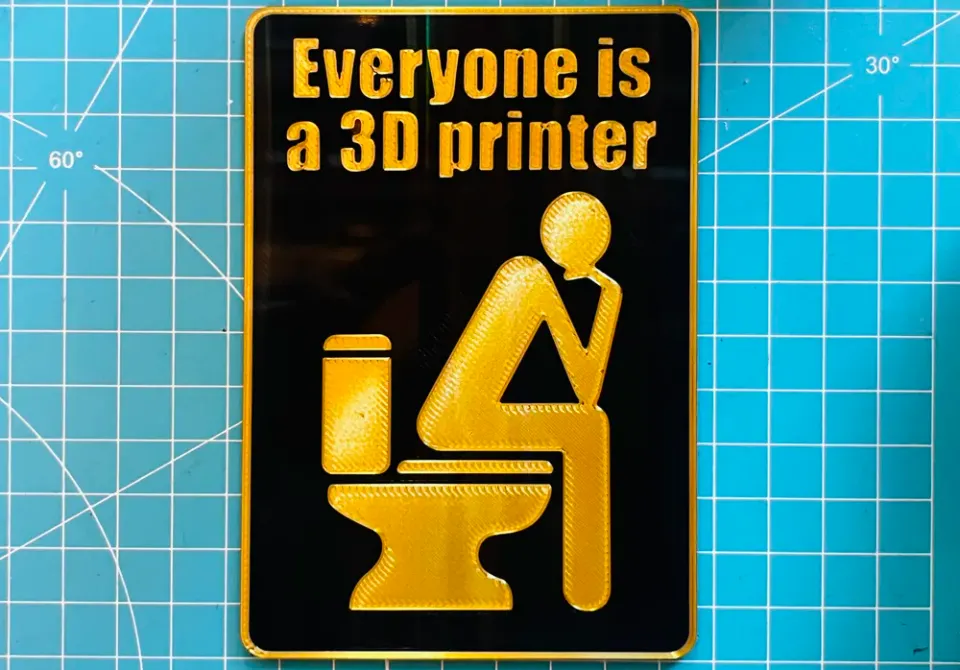
Signs are one of the best starting points for AMS models and the Prusa MMU. The text, pictogram, and background are clearly separated, so multicolor printing has a practical benefit. They are suitable for labeling rooms, shelves, filament boxes, drawers with nozzles, or personalized gift tags.
Think about the model's construction when designing signs. The cleanest result is usually achieved when the text is slightly raised and the last few layers are printed in a different color. Such a model can also be handled by an ordinary printer with a manual pause for filament replacement. AMS or MMU is most useful for signs with multiple icons, a frame, and contrasting text at the same height.
Practical tip: for readability, combine a dark background with light text, or vice versa. Do not overdo the number of colors on small letters. One strong contrast is better than four colors that blend together on a small inscription.
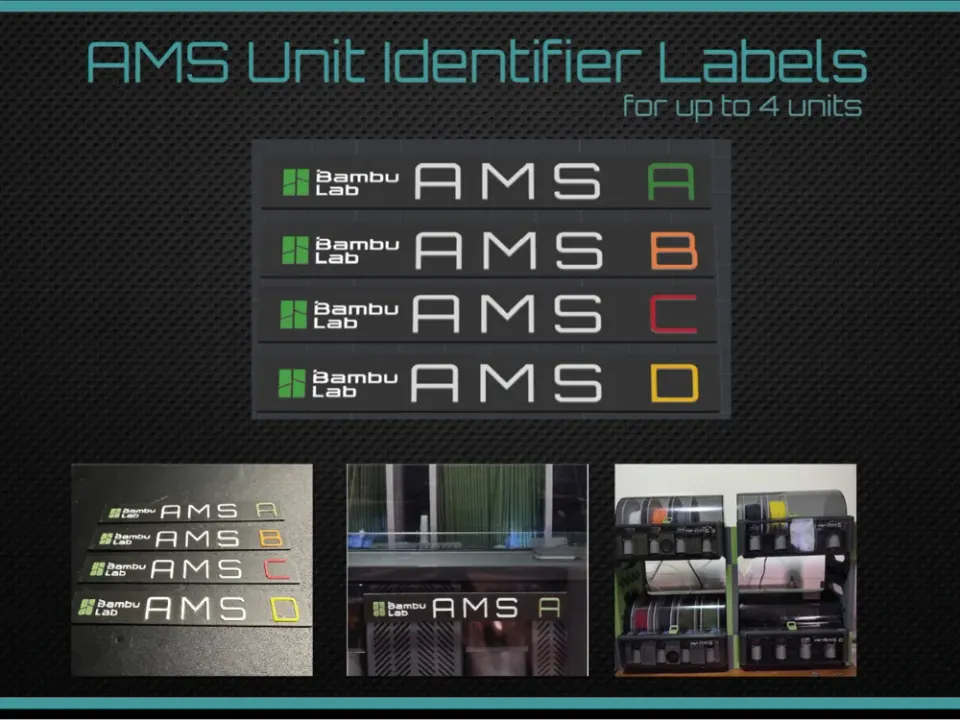
Color-coded labels make sense wherever you need to quickly distinguish categories. Red can indicate spare parts, blue electronics, yellow service items, and green completed orders. In an e-shop, workshop, or home office, this speeds up searching more than a decorative figurine.
You usually do not need complex multicolor printing throughout the entire height for these models. Design the base in one color and leave the text and symbols as top layers. In the slicer, set a color change at a specific layer, or paint only the top surfaces. This saves both time and filament.
If you print many labels at once, arrange them on the build plate as a series. The waste from color changes will then be distributed among more pieces, making a multicolor print more economically worthwhile.
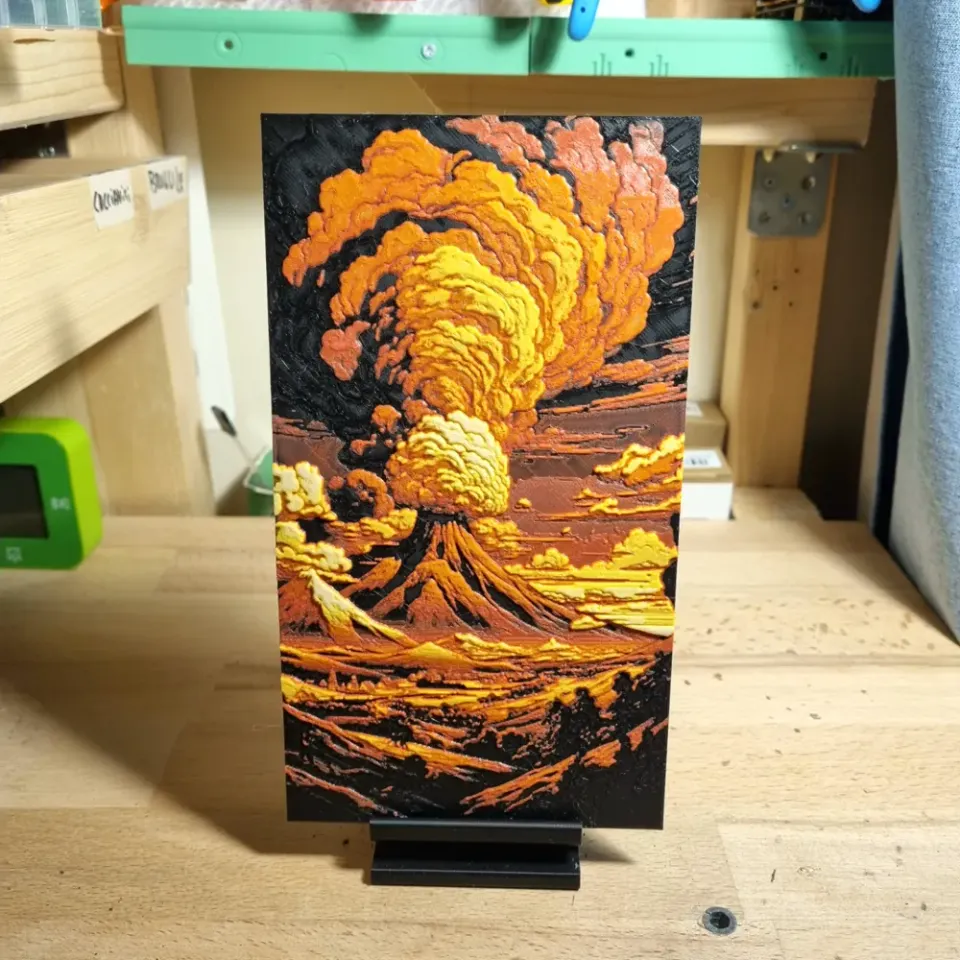
HueForge is among the most rewarding types of multicolor 3D prints because the colors are not merely a pasted-on effect. The model works with thin layers, filament translucency, and color order. The result can be a portrait, gaming motif, map, logo, or wall picture that is only a few millimeters high.
It is important to understand that this type of print often does not require AMS. Many HueForge models use color changes by layer, so manual pauses are sufficient. An automatic system is more convenient, but the biggest difference is made by choosing the right filament palette, using a low layer height, and preparing the first layer properly.
Start with a smaller image and four colors. Black, white, and two well-chosen intermediate colors will teach you more than a first attempt with fourteen spools. With translucent filaments, keep in mind that the result depends on the light, surface, and thickness of the individual layers.
Figurines are tempting, but they can also be the biggest trap. Every eye, buckle, chest emblem, or stripe on a shoe can mean another filament change. If colors alternate throughout the model in every layer, printing takes significantly longer and waste increases with single-nozzle systems.
The best multicolor figurines are therefore not those with the greatest number of colors, but those where the model is sensibly divided. The head, body, accessories, and base can be printed separately, often without unnecessary purge. You can then leave the colored logo or eyes to AMS, MMU, or manual color changes.
A toolchanger has an advantage with figurines when you really need multiple colors at the same height and want to reduce nozzle cleaning. For ordinary decorations, however, dividing the model into parts and then snapping or gluing them together often wins.
Multicolor printing is excellent for school supplies because color helps explain concepts. Fraction circles, anatomical cross-sections, maps of Earth's layers, molecules, magnetic cards, geometric shapes, or multiplication tables are much easier to understand when each part has its own color.
Here, it pays to distinguish colors by function. With fractions, each value can have its own shade. On a volcano model, a different color can indicate the crust, magma, and vent. In technical education, you can distinguish the shaft, bearing, gear, and housing.
For schools, it is practical to print with a small number of durable colors. Three to five colors are usually enough. The model must withstand handling, so it is better to add perimeters and choose contrasting colors than subtle gradients that students will not appreciate in their hands anyway.
A name, date, short message, or favorite icon increases the value of a simple print. Multicolor 3D printing is suitable for keychains, magnets, bookmarks, ornaments, phone stands, boxes, or small tabletop trophies.
Design personalized gifts so that the customer's text or name forms a separate top layer. This shortens printing and reduces the risk of filament changes running all night because of a single color. If the gift has multiple parts, print the basic part in a series and the personalized colored inserts separately.
Combinations of matte PLA with metallic or silk PLA work well for gifts. Just watch out for differences in temperature and gloss. Before producing a larger batch, test a small inscription, as some glossy filaments reduce the readability of fine text.
Small icons are among the models where multiple colors make immediate sense. A battery, recycling, Wi-Fi, social media, gaming class, or workshop status symbol is useful precisely because of its contrast. Fridge magnets, backpack badges, or machine labels look finished straight off the printer.
Simplicity pays off with icons. Avoid lines that are too thin and small, separate islands of color. If the model has many tiny details, enlarge it or reduce the number of colors. A slicer with surface painting is convenient, but a poorly prepared model with microscopic colored areas can create hundreds of unnecessary changes.
The best results usually come from icons with a flat background and two to three colors. For magnets, add a pocket for the magnet on the back and print face up or face down depending on which surface you want to be visible.
Organizational elements do not need to be entirely colorful. It is enough for color to highlight a label or category. Drawer inserts, bit holders, nozzle boxes, screw bins, or filament sample holders combine well with contrasting labels.
A practical approach is to print the organizer body in one color and leave the color coding only on the top edge, an inserted label, or a replaceable clip. If you later change the contents of the drawer, you do not need to reprint the entire box, only the label.
Use AMS and MMU mainly for serial printing of many labeled parts here. For one large organizer, manual color changes in the final layers or separate snap-on labels are often more efficient.
Color maps and reliefs are excellent for travel gifts, school projects, and office decorations. Color can indicate water, borders, routes, elevation levels, or important locations. For logos, multicolor printing eliminates the need for painting and produces repeatable results.
With maps, the cleanest approach is to divide colors by height or area. Water as the bottom surface, land as the next layer, and routes as top lines can often be handled just with layer-by-layer changes. If you need colored points scattered across the entire map, automatic filament switching makes more sense.
Simplify logos before printing. Small gaps, thin lines, and transitions from vector graphics may not print well with a 0.4 mm nozzle. It is better to adjust the model slightly for printing than to try to reproduce every detail literally.
Not every multicolor print has to be decorative. Color is also useful for jigs, gauges, test templates, holders, fuses, or assembly parts. Red can indicate a moving part, yellow a warning, green the correct direction, and blue a specific diameter or material.
With functional parts, however, always monitor strength. Frequent filament changes, different materials, and incorrectly set temperatures can weaken layer bonding. If color does not directly serve a function, print the part from one material and add the colored element as an insert, label, or separate cover.
A toolchanger is useful when combining materials with different functions, such as a strong plastic and support material, or a rigid part with a ible element. For ordinary PLA labeling, however, a simple color change is often faster and cheaper.
The printer brand does not make the biggest difference; the number of changes and the model design do. Before starting, check the slicer preview to see how many color changes the model actually has. If every small dot triggers a filament change across dozens of layers, modify the model or combine the colors.
Several simple steps help:
With single-nozzle systems, consider purge waste the price of a clean color transition. Toolchangers and multi-nozzle systems usually produce less waste, but the machine is more complex and expensive. Therefore, it pays to choose the technology based on the models you will actually print, not on the maximum number of colors advertised.
Manual changes or automatic layer-by-layer changes are enough when the color is divided by height. Typical examples include signs with raised text, flat images, maps with relief, simple labels, keychains, or two-color coasters. Such prints are inexpensive, clean, and often faster than full multicolor mode.
You will appreciate AMS, MMU, or a toolchanger when colors alternate within a single layer, the model has colored elements on multiple sides, or you are printing a series of personalized pieces unattended. Automation is convenient and, with properly designed models, can save a great deal of work. It is not required for every colored model, though.
You do not need ten spools for your first multicolor prints. Get white, black, one vivid color, and one neutral complementary color. For example, white, black, red, and gray cover signs, logos, labels, and simple figurines. For school supplies, add blue, green, and yellow.
Stick to the same material and a similar type of filament. Combining different PLAs is usually easier than mixing PLA, PETG, and ible materials in one model. If you want to combine materials, first test layer adhesion and temperatures on a small part.
The best multicolor 3D prints are not those that use the most colors, but those where color improves functionality, readability, or emotional appeal. Signs, labels, HueForge images, school supplies, icons, and organizers are reliable choices. Figurines, logos, and functional parts can be excellent if the model is designed with the number of changes and waste in mind.
Before each print, ask yourself: does the color help the user, or does it only burden the printer? When it helps, multicolor printing makes sense. When it does not, a clean single-color part with one well-planned filament change often wins.